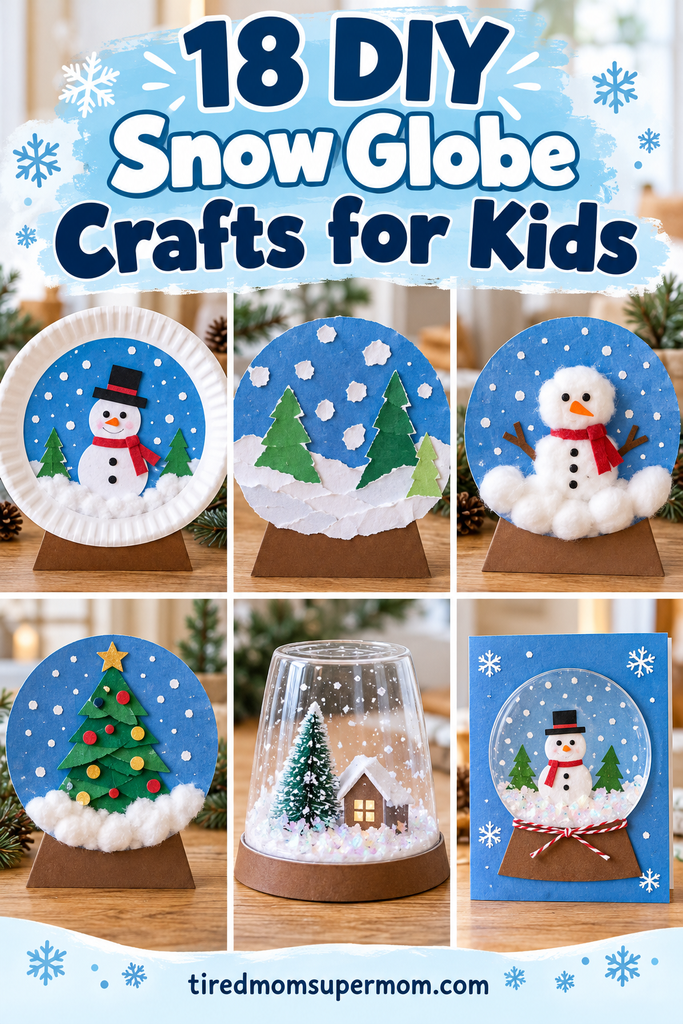
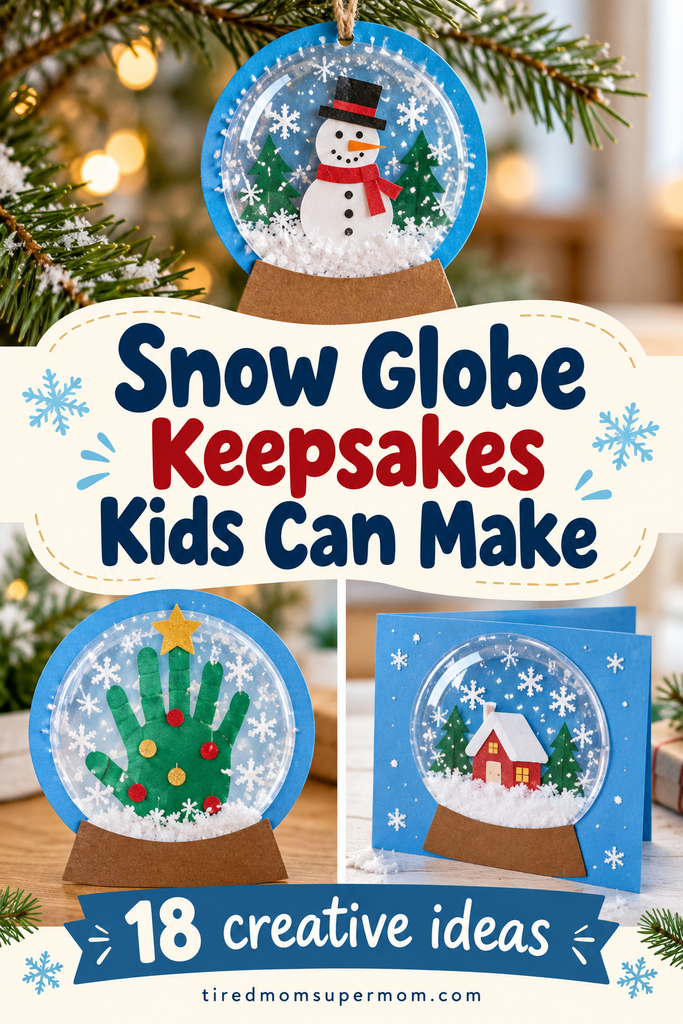
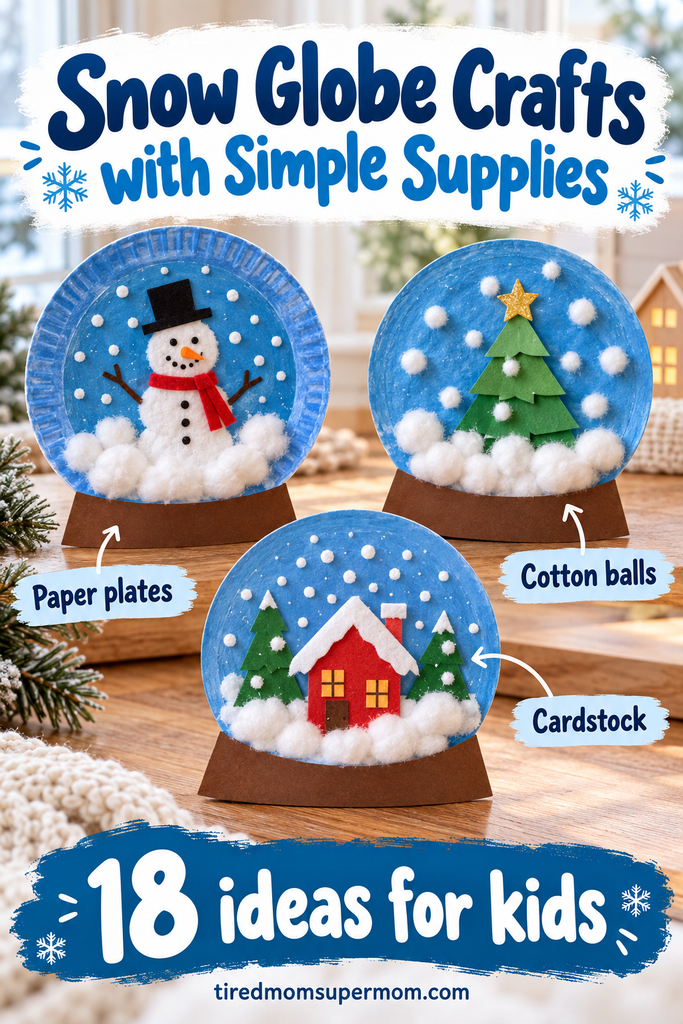
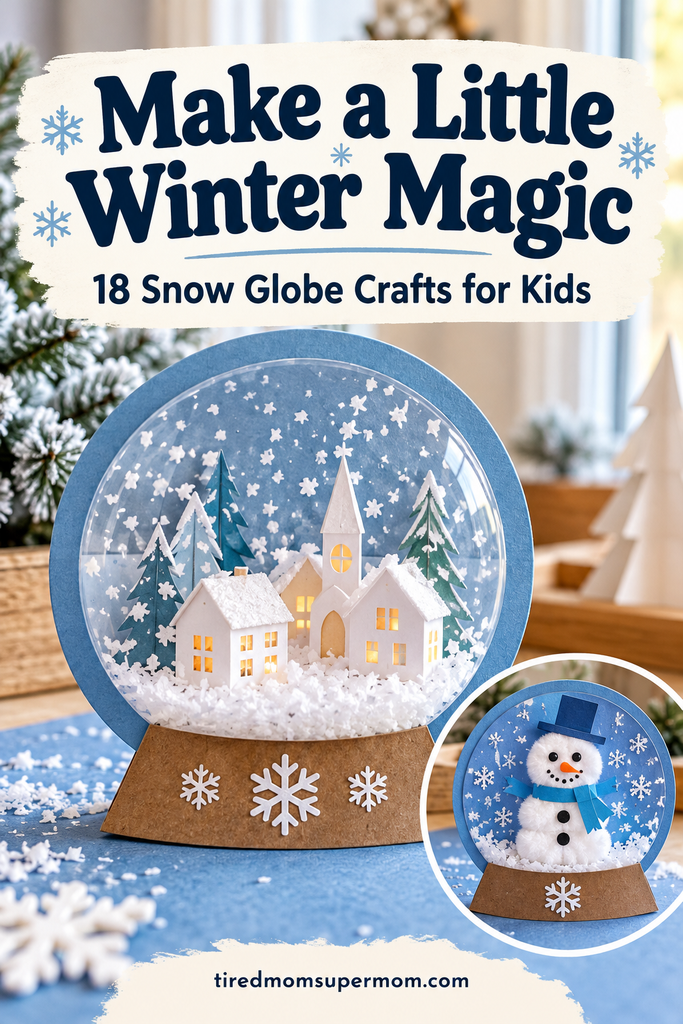
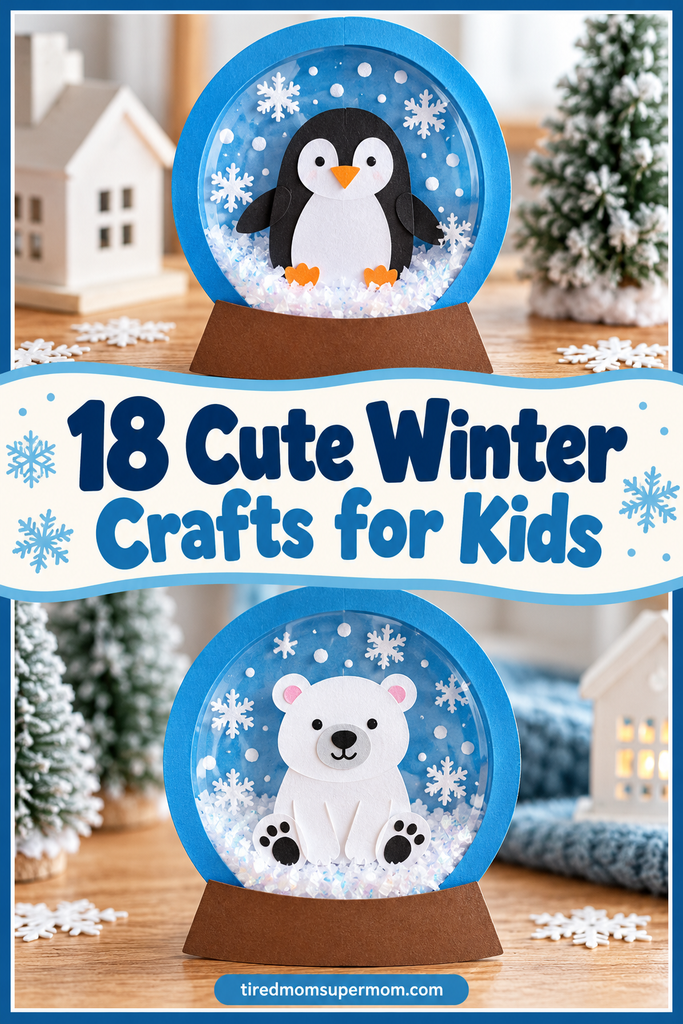
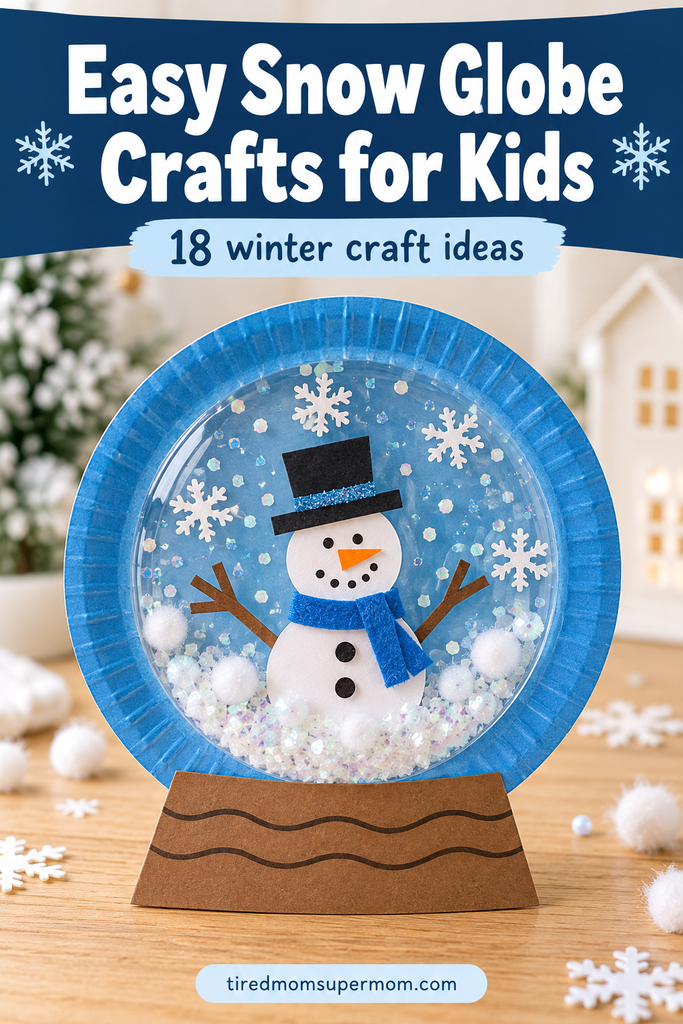
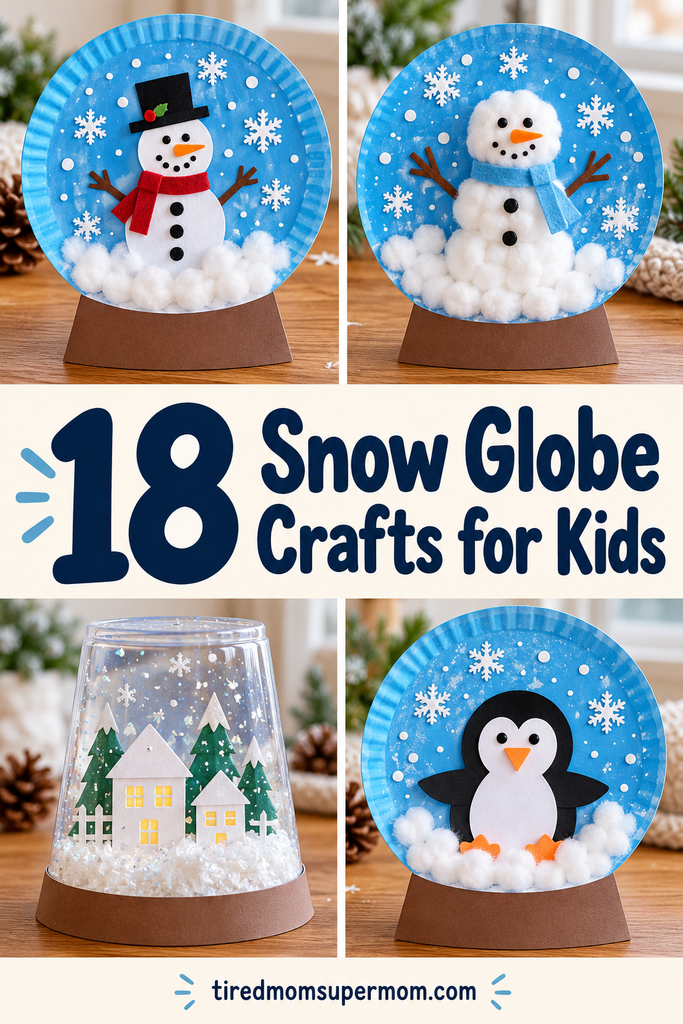
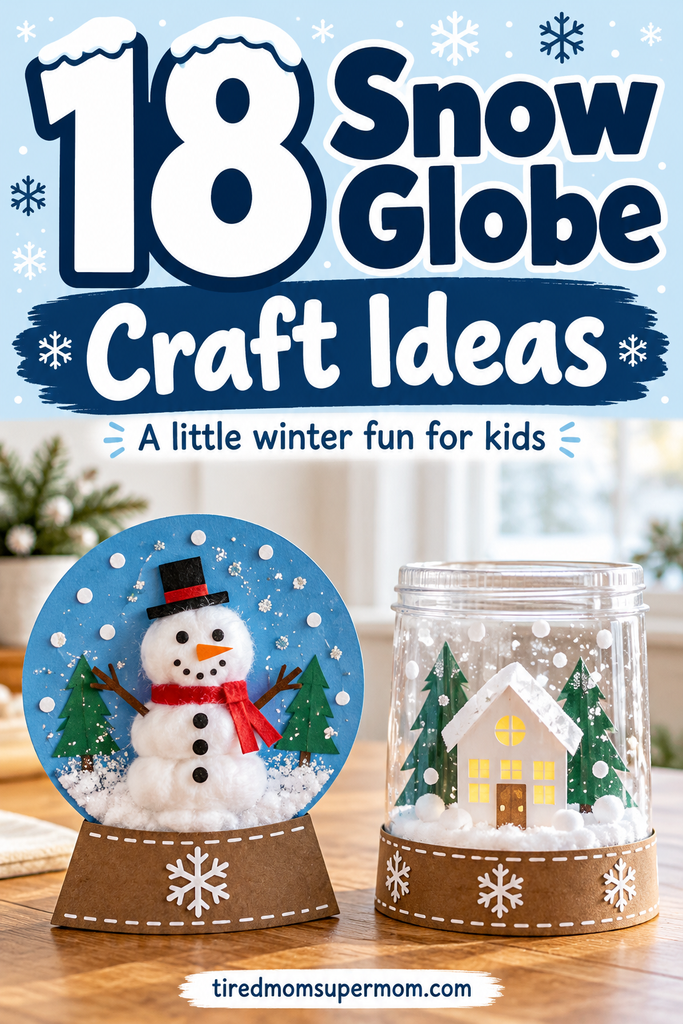
There’s something about a snow globe that makes kids stop and stare. One little shake, and suddenly a tiny world is caught in a snowstorm.
Making your own brings that same magic to the craft table—with a few cotton-ball snowdrifts, paper snowflakes, and probably a little glue on someone’s sleeve.
These snow globe crafts for kids include easy paper projects, keepsake photo crafts, and a few snow-filled globes that children can shake. Some make sweet homemade Christmas gifts, while others are perfect for a cozy afternoon long after the holiday decorations come down.
Start with a paper version if you’re crafting with younger children. For projects with liquid, an adult should handle sealing the container and check for leaks before play.
Heads up: This post may include affiliate links. As an Amazon Associate, I earn from qualifying purchases—at no extra cost to you. Full privacy policy and disclosure here.
1. Paper Plate Snow Globe
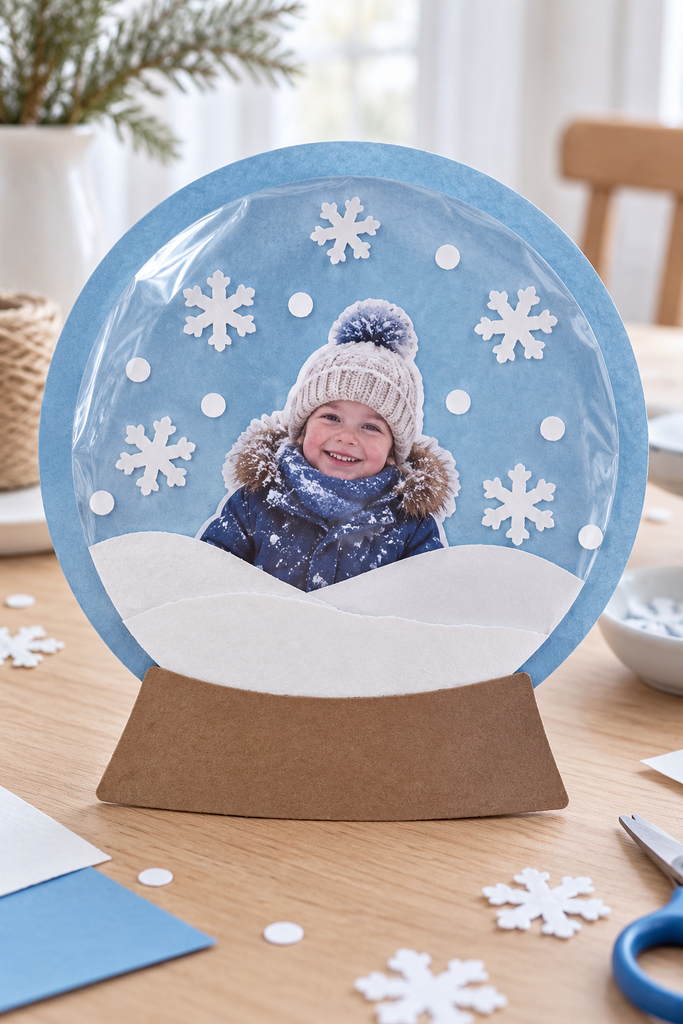
A paper plate makes a sturdy backdrop for a little winter scene, and kids have plenty of room to add their own details.
Supplies:
- Paper plate
- Blue and brown construction paper
- White paint
- Cotton balls
- Glue
- Markers
How to make it:
Cut a blue paper circle to fit inside the plate and glue it in place. Add a paper snowman, snowy tree, or little house. Stretch cotton balls across the bottom for snow, then dab white paint around the scene for falling snowflakes.
Cut a wide trapezoid from brown paper and glue it beneath the plate to create the snow globe’s base.
A sweet finishing touch: Write your child’s name and the year on the base.

Chiisong 48 Pcs Christmas Craft Kits for Kids DIY Christmas Ornament Kit Make Your Own Xmas Arts and Crafts Xmas Decor with Stickers for Holiday Class Home Party Favors Supplies(Snow Ball)
- You Will Get: the DIY Xmas party crafts contain 48 pcs Xmas decor cards, 48 pcs self-stickers, and with a 26 ft long ribbon for easy to hang, the enough quantity and rich styles will meet your needs on Xmas DIY activities, make your own Christmas crafts
- Cute Design: Winter Christmas ornament kits feature Xmas theme scene, including various elements like Xmas tree, elk, snowman, etc., paired with bright colors and cute actions, lifelike and interesting, will be eye-catching decors at the Winter holiday
- Enjoy DIY Fun: the Christmas craft with stickers can be applied on Christmas DIY activities for you, you can do the project with them, allow them to foster hands-on ability and imagination while enjoying handicrafts fun, and enhance your relationship
New starting from: 12.99 $
Go to Amazon2. Photo Snow Globe Keepsake
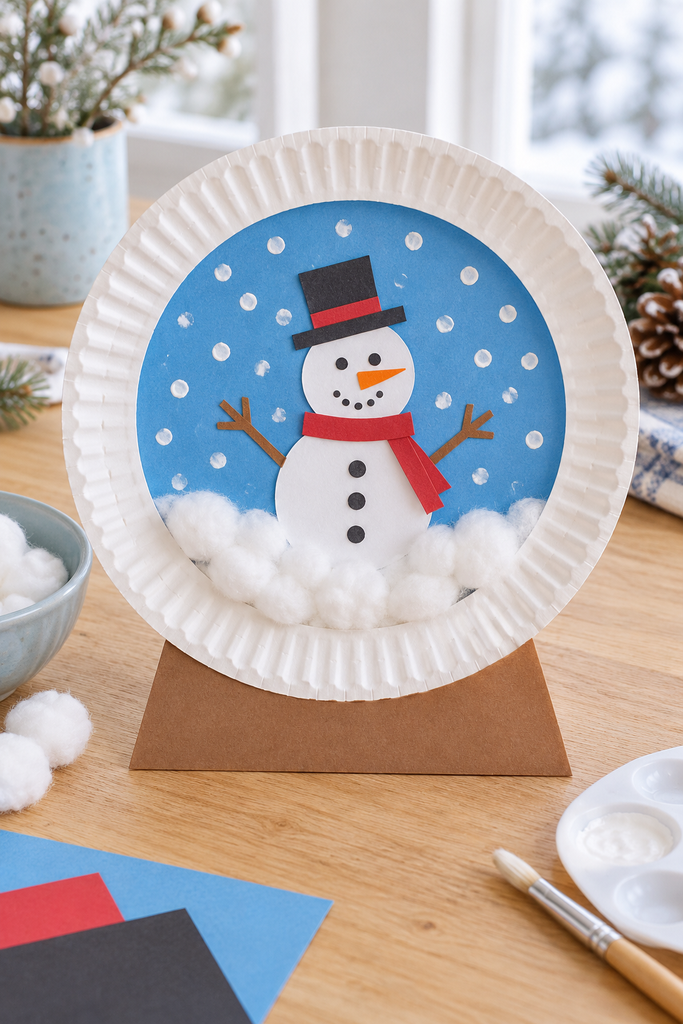
Turn a smiling photo into a winter keepsake that grandparents will want to display.
Supplies:
- Printed photo
- Blue cardstock
- Brown cardstock
- Clear self-adhesive covering film
- White paper
- Glue
How to make it:
Cut a large circle from blue cardstock. Cut out your child’s figure from a printed photo and glue it inside the circle.
Add white paper snowbanks and tiny paper snowflakes. Cover the finished circle with clear self-adhesive film, trim around the edge, and attach a brown paper base.
A photo of your child wearing a winter hat or holding their arms out makes the scene especially cute.
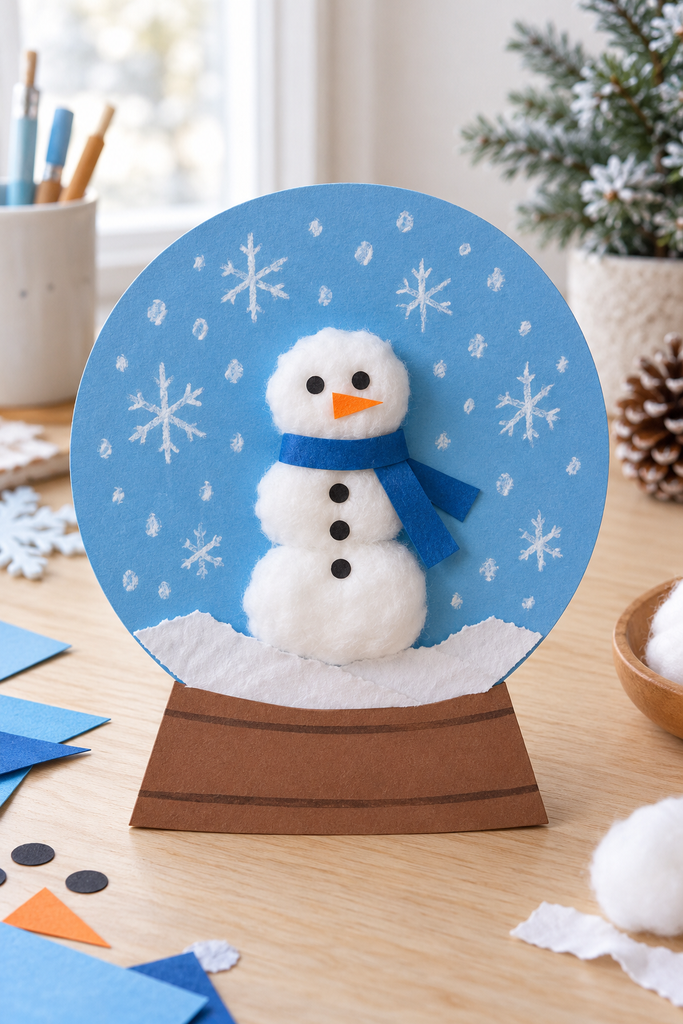
3. Cotton Ball Snowman Snow Globe
This fluffy snow globe is an easy choice for preschoolers who enjoy sticking and arranging craft materials.
Supplies:
- Blue cardstock
- Cotton balls
- Orange and black paper
- Glue
- White crayon
How to make it:
Cut the cardstock into a large globe shape. Glue three cotton balls vertically to form a snowman, then add a tiny orange paper nose and black paper eyes.
Use a white crayon to draw snowflakes around the snowman. Add a paper scarf and a cardstock base to finish.
For younger children, prepare the small paper pieces ahead of time so they can focus on assembling their snowman.

Jerify 24 Sets 3.6 in Christmas DIY Snow Globe Kit, Santa Claus
- Plastic Snow Globe Kit: you will receive 24 pieces of clear plastic snow globes, 48 pieces of mini Christmas trees in 2 different heights, 24 mini santa claus statues in 2 different emotions, and 1 bag of fake snow, sufficient quantity to cover your decoration and DIY needs
- Reliable and Leak Proof: these Christmas plastic snow globes for crafts are equipped with an aluminium lid to prevent water leakage, and mini Christmas trees are made of rayon and wood, not easy to fade, realistic and vivid
- Suitable Size: the plastic snow globe is approx. 2.09 inches/ 5.3 cm in caliber, approx. 3.58 inches/ 9.1 cm in height and approx. 3.35 inches/ 8.5 cm in diameter; The Christmas tree with base is approx. 1.77 inches/ 4.5 cm and 1.38 inches/ 3.5 cm, and the santa claus is approx. 1.18 x 1.57 inches/ 3 x 4 cm, proper for your decoration
New starting from: 38.99 $
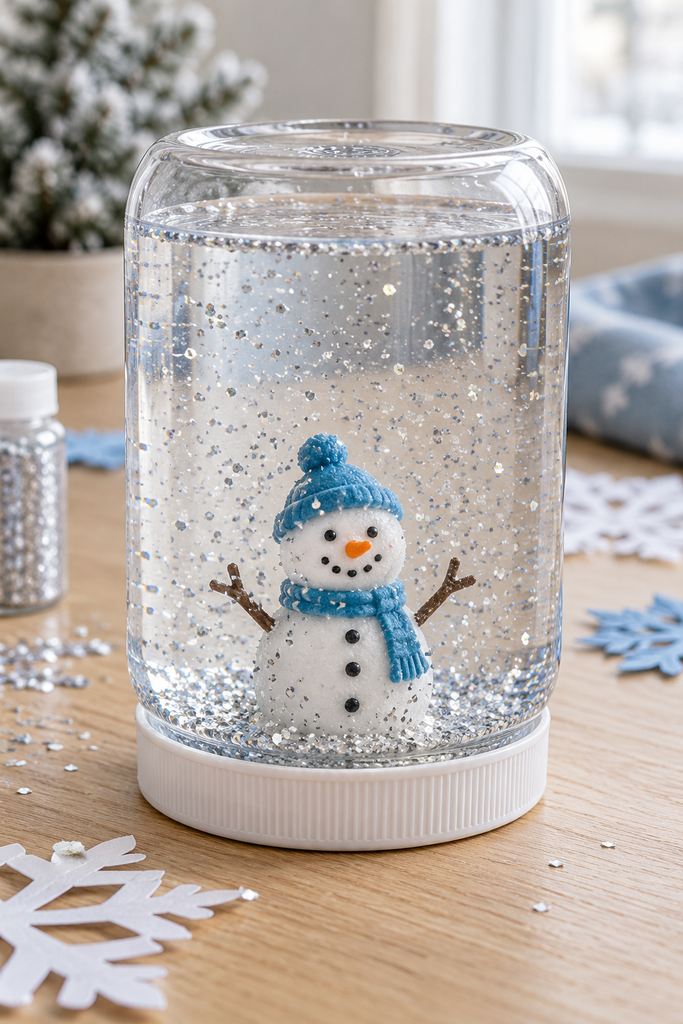
Go to Amazon4. Plastic Jar Snow Globe
A clear plastic jar lets kids make a snow globe they can actually shake.
Supplies:
- Clear plastic screw-top jar
- Small waterproof plastic figurine
- Water
- A small amount of craft glitter
- Waterproof adhesive suitable for the materials
How to make it:
An adult should attach the figurine inside the lid with waterproof adhesive and let it cure completely according to the product instructions.
Fill the jar with water and a small pinch of glitter, leaving enough room for the figurine. Screw the lid on, test it over a sink, and have an adult seal it securely with an appropriate adhesive.
Once the seal has fully cured, turn the jar over and watch the glitter drift around the scene.
Choose a simple plastic figure without paper labels, fabric, or painted details that might come loose in water.
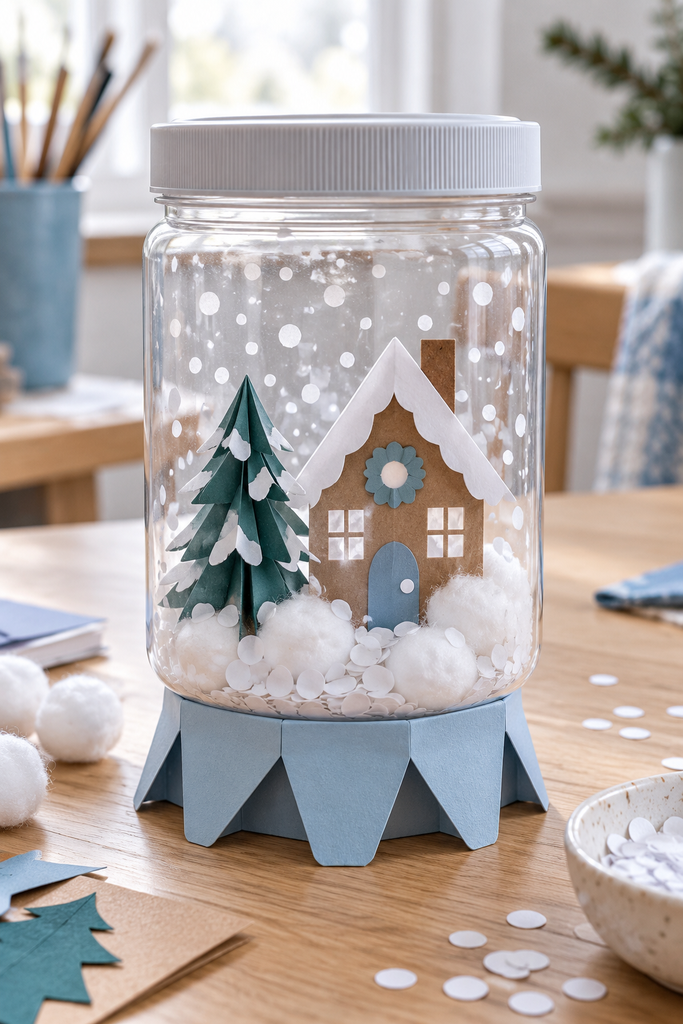
5. Waterless Snow Globe
Want the snow globe look without filling a container with water? This dry version makes a lovely shelf decoration.
Supplies:
- Clear plastic jar
- Paper winter scene
- Cotton balls
- White paper confetti
- Cardstock
- Glue
How to make it:
Create a small folded cardstock stand and glue a paper tree, snowman, or house to it. Attach the stand inside the bottom of the jar so the scene stays upright.
Add a little cotton-ball snow and a sprinkle of white paper confetti around it. Close the lid and decorate the outside with a paper label.
Keep this one upright as a decoration so the paper scene stays looking its best.
6. Clear Cup Snow Globe
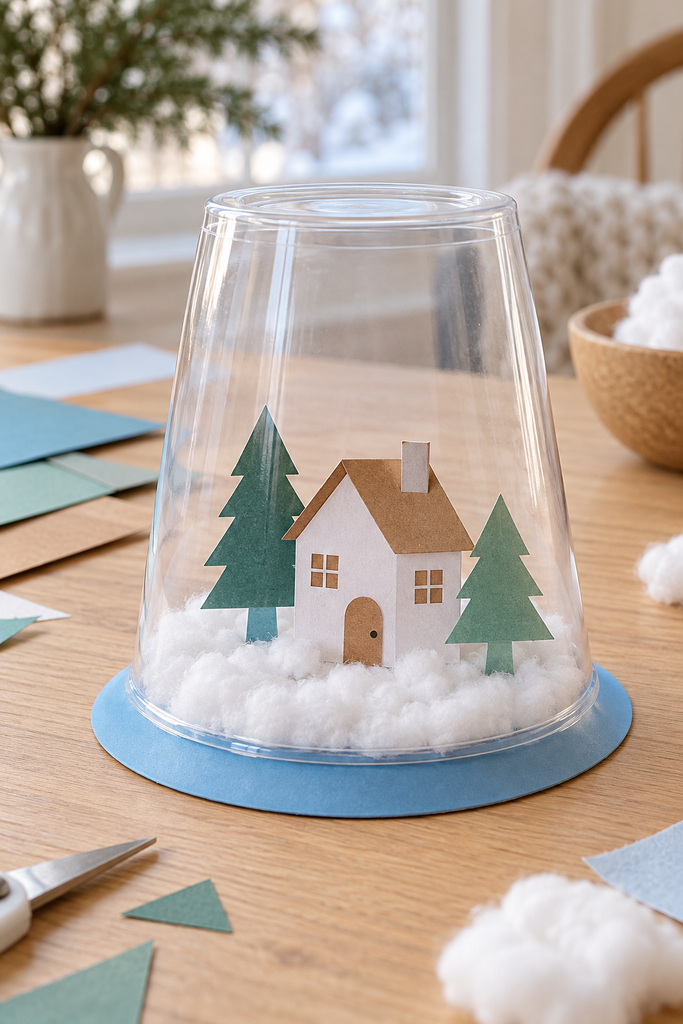
An upside-down clear cup creates a little dome over a handmade winter world.
Supplies:
- Clear plastic cup
- Cardboard
- Blue paper
- Cotton balls
- Paper trees or snowmen
- Glue
- Tape
How to make it:
Cut a cardboard circle slightly wider than the cup’s opening and cover it with blue paper.
Make small paper characters with folded tabs at the bottom, then glue the tabs to the cardboard so the characters stand up. Add cotton-ball snow around them.
Place the cup upside down over the scene and secure its rim to the base with glue or tape.
Try a tiny village with a house, two trees, and a winding paper path.
7. Snow Globe Christmas Ornament
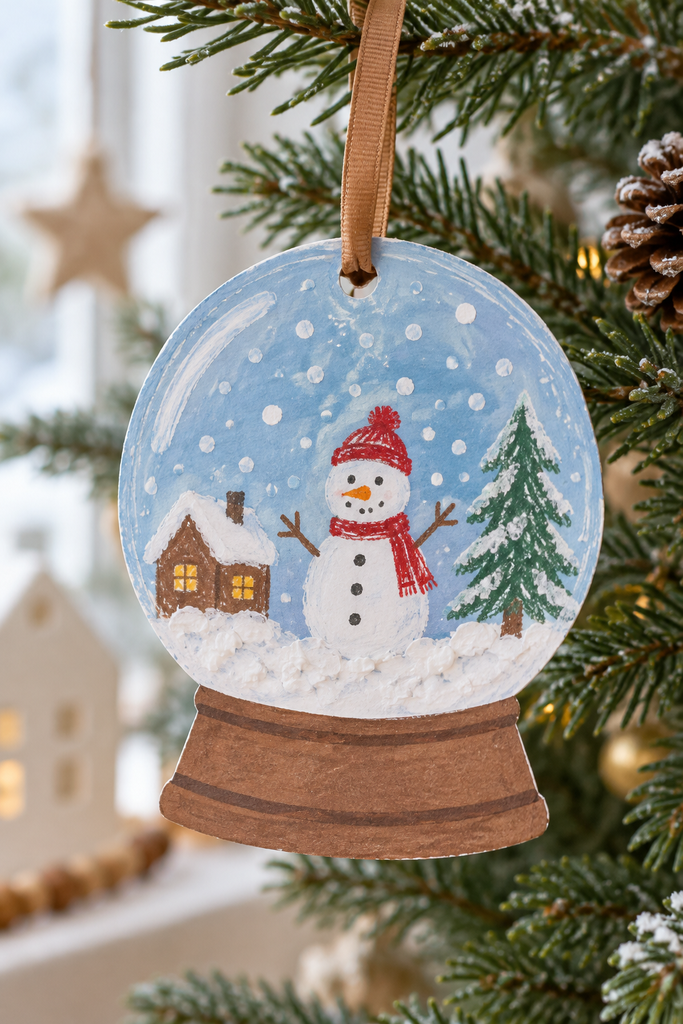
These flat paper ornaments are lightweight enough to hang on a Christmas tree.
Supplies:
- Cardstock
- Markers
- White paint
- Ribbon
- Hole punch
- Glue
How to make it:
Cut out a small snow globe shape with a base. Have your child draw a winter scene inside, then add white paint dots for snow.
Once everything is dry, punch a hole near the top and thread ribbon through it.
Write the year on the back to turn this quick craft into a keepsake.
8. Fingerprint Snow Globe
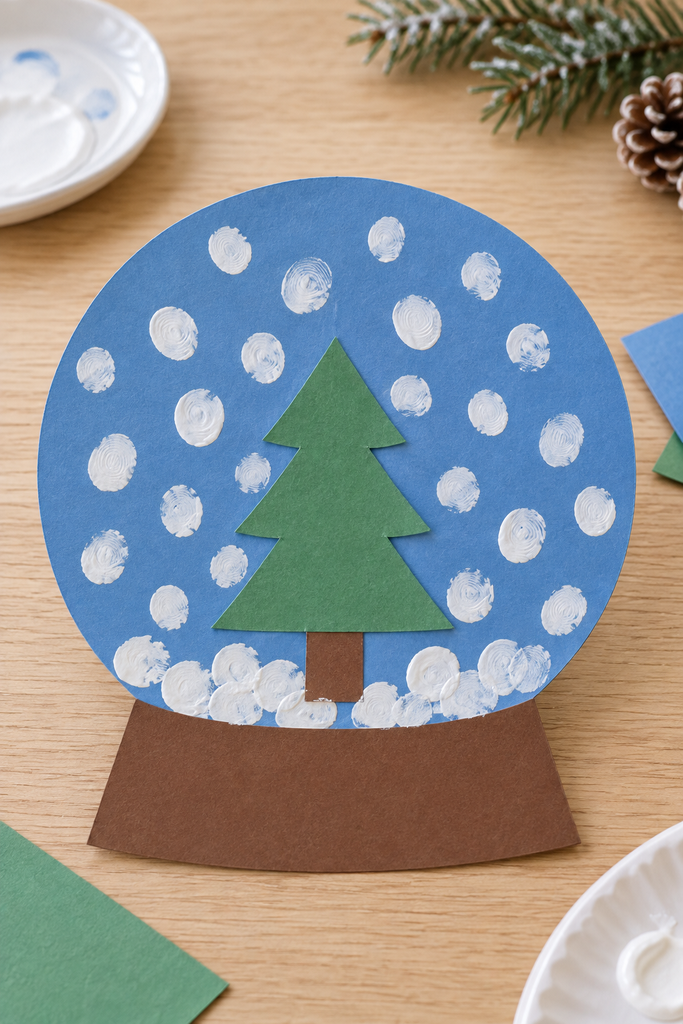
Tiny fingerprints make the perfect falling snow—and give this craft a personal touch.
Supplies:
- Blue cardstock
- White washable paint
- Construction paper
- Glue
- Markers
How to make it:
Cut a large circle from blue cardstock and add a paper tree or snowman in the middle.
Have your child dip a fingertip lightly into white paint and press snowflakes around the scene. Add a paper base after the paint dries.
Leave a little space between the fingerprints so the winter scene remains easy to see.
9. Puffy Paint Snow Globe
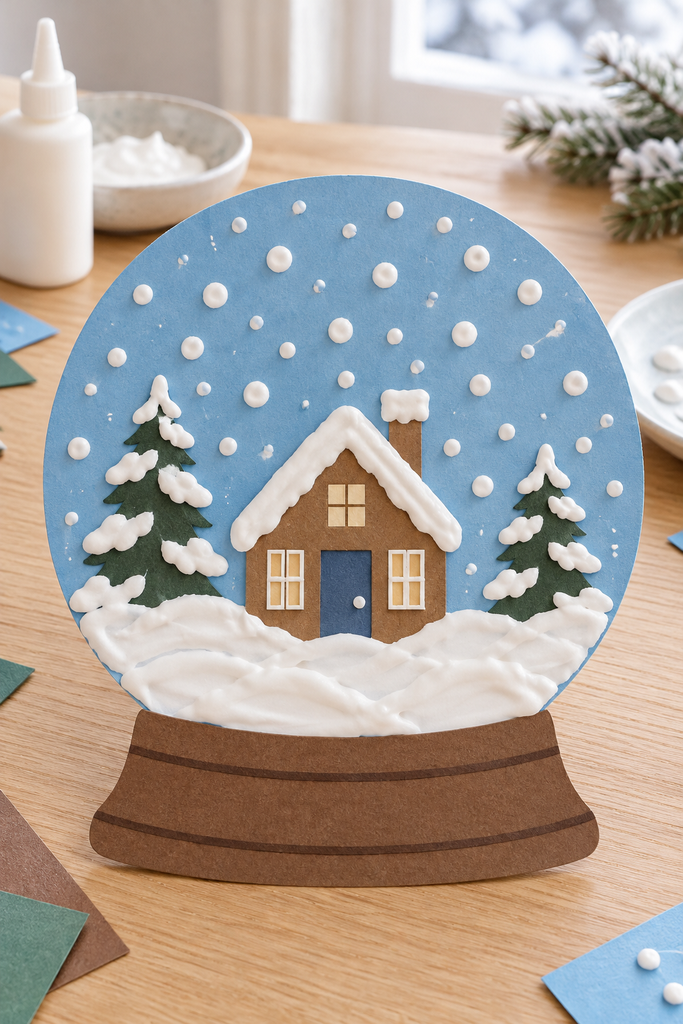
Puffy paint adds raised snowbanks and snowy rooftops to a simple paper globe.
Supplies:
- Sturdy cardstock
- White washable dimensional craft paint
- Construction paper
- Glue
- Markers
How to make it:
Draw or glue a winter scene inside a cardstock globe shape. Use dimensional paint to add snow along the ground, on tree branches, and across the roof of a little house.
Dot a few snowflakes around the sky, then leave the craft flat until the paint is completely dry.
Follow the paint’s age guidance and supervise younger children while they use it.

wookidel 12 Pack Build a Snowman Kit Snowman Kit Christmas Crafts for Kids
- 【Package include】Our snowman crafts for kids include everything you need to make 12PCS snowman, comes with 117 accessories like snowman noses, branch arms, antlers, eyes, scarves, buttons, and hats (in 9 styles). Kids can let their creativity run wild to build their own snowmen!
- 【High Quality】Build a Snowman Kit is made from high-quality soft clay that’s not easy to collapse, non-toxic, and odorless. It’s safe for kids, incredibly easy to work with, and leaves no messy residue. With this clay, children can play safely and enjoy their colorful Christmas.
- 【Easy and Convenient】Simply shape the clay into two different sizes of snowballs, then choose accessories to decorate your snowman craft. The clay can be reused, or you can let your Christmas elf dry for 24 hours, then show your own snowman to friends and family.
New starting from: 16.89 $
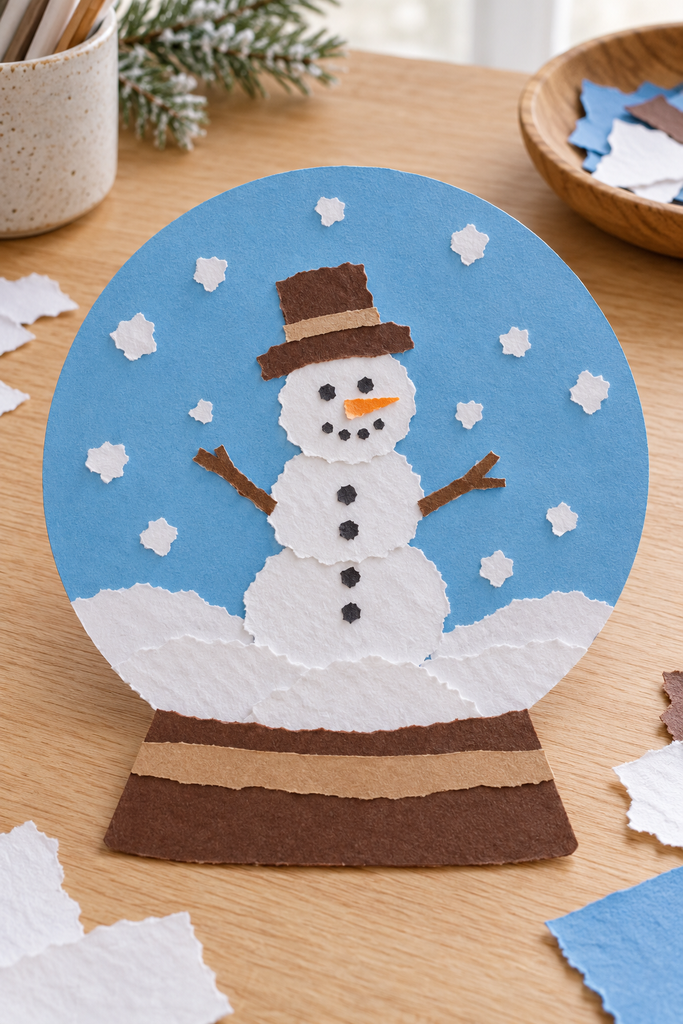
Go to Amazon10. Torn Paper Snow Globe
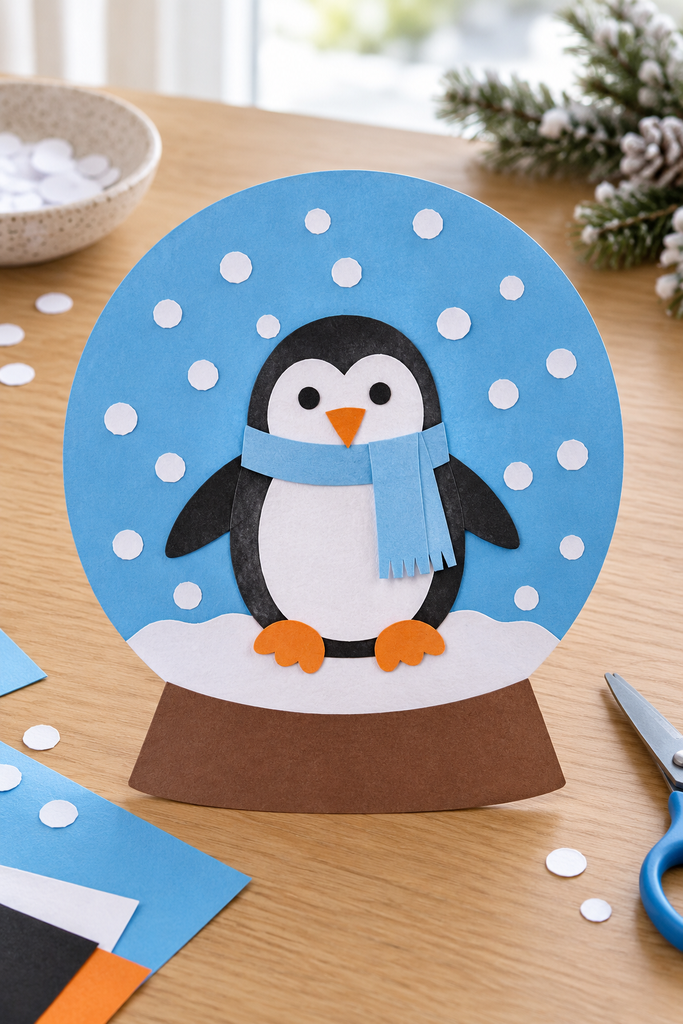
This is a great snow globe craft for kids who would rather tear paper than use scissors.
Supplies:
- Blue cardstock
- White paper
- Colored paper
- Glue stick
How to make it:
Prepare a blue globe shape and a paper base. Let kids tear white paper into small pieces, then glue the pieces along the bottom for snow.
Use larger torn pieces to build a snowman or snowy hill. Add a few small scraps in the sky for falling snow.
The uneven edges give the finished picture a soft, snowy look.
11. Penguin Snow Globe
A little penguin turns an ordinary winter scene into something full of personality.
Supplies:
- Blue cardstock
- Black, white, and orange paper
- Glue
- White paint or crayon
How to make it:
Cut a black oval for the penguin’s body and a smaller white oval for its belly. Add black flippers, orange feet, and a small orange beak.
Glue the penguin inside a blue paper globe. Add a white snowbank beneath it and snowflakes around it.
Kids can give their penguin a colorful scarf, earmuffs, or a tiny winter hat.
12. Polar Bear Snow Globe
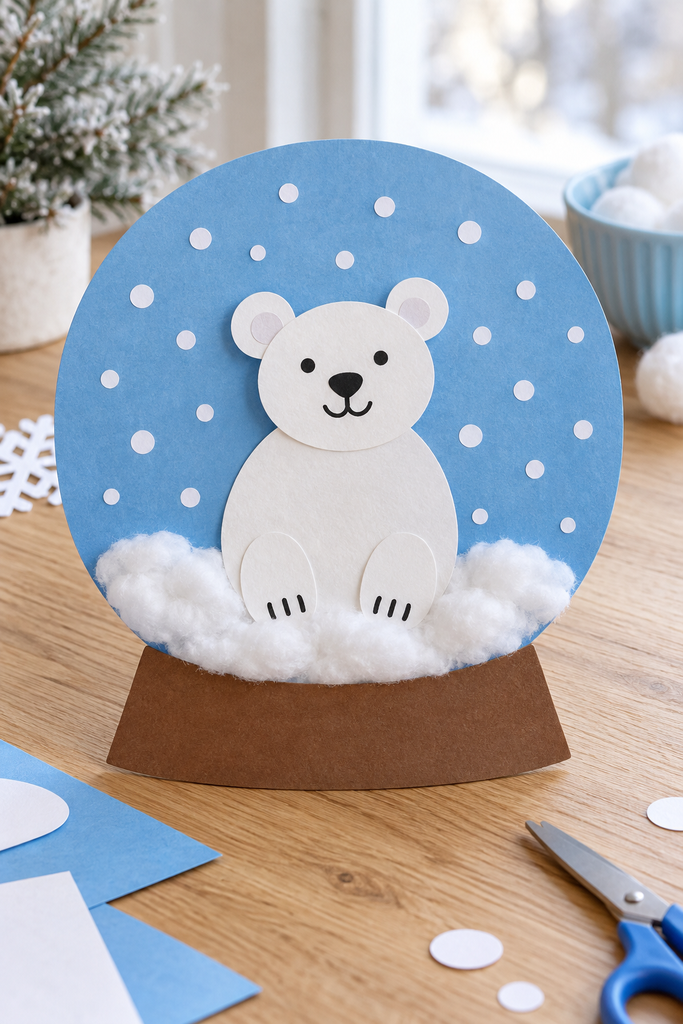
This snowy bear scene works well as a winter craft beyond Christmas.
Supplies:
- Blue cardstock
- White paper
- Black marker
- Glue
- Cotton balls
How to make it:
Cut a large white oval for the polar bear’s body, a smaller circle for its head, and little circles for its ears.
Glue the bear inside a blue globe shape, then draw its face and paws. Add cotton-ball snow along the bottom.
For a different look, make a close-up polar bear face that fills most of the globe.
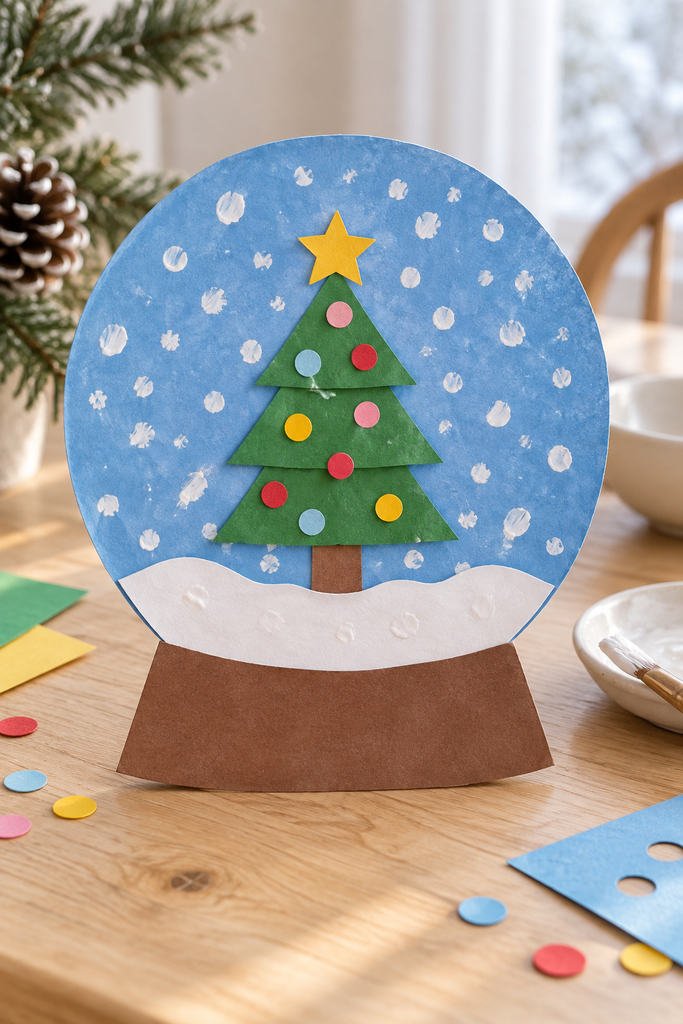
13. Christmas Tree Snow Globe
A decorated tree gives this craft a festive feel without needing many supplies.
Supplies:
- Blue cardstock
- Green and brown paper
- Colored paper scraps
- White paint
- Glue
How to make it:
Cut a green triangle and a small brown trunk, then glue them inside a blue paper globe.
Decorate the tree with tiny paper ornaments and a star. Add white paint snowflakes and a white paper snowbank beneath the tree.
Let kids choose their own ornament colors—rainbow Christmas trees are welcome here.
14. Handprint Tree Snow Globe
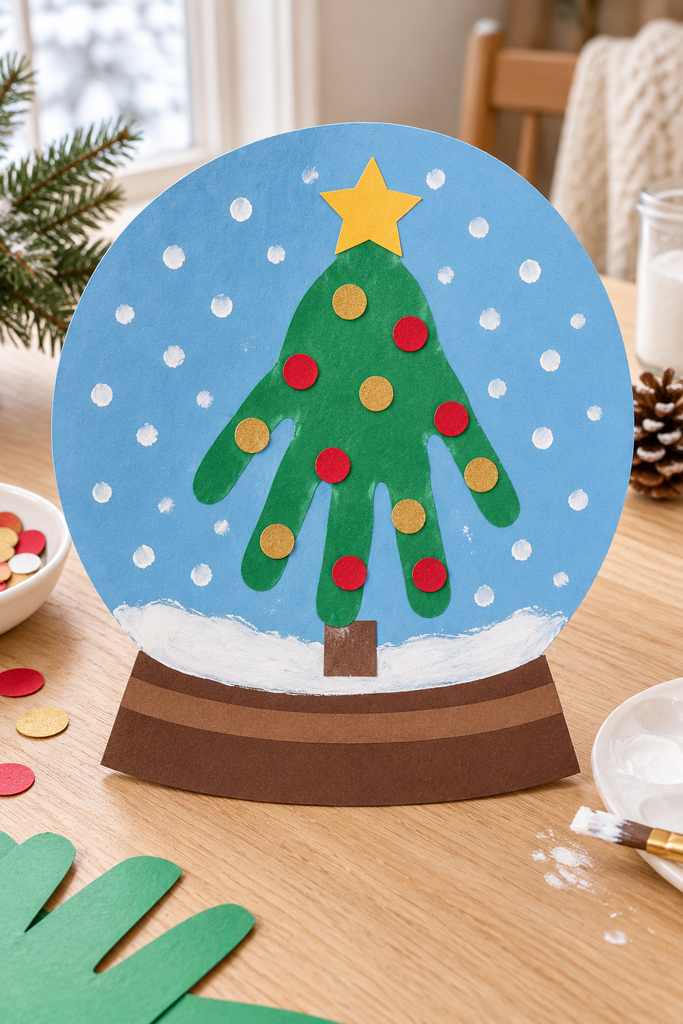
A handprint tree makes this snow globe feel a little more special than an everyday paper craft.
Supplies:
- Green paper
- Blue cardstock
- Brown paper
- Pencil
- Glue
- White paint
How to make it:
Trace your child’s hand on green paper and cut it out. Turn the handprint so the fingers point downward, then add a brown paper trunk beneath the wrist.
Glue the tree inside a large blue globe shape. Decorate it with paper ornaments and white paint snow.
Write your child’s age on the back before putting it away with your seasonal keepsakes.
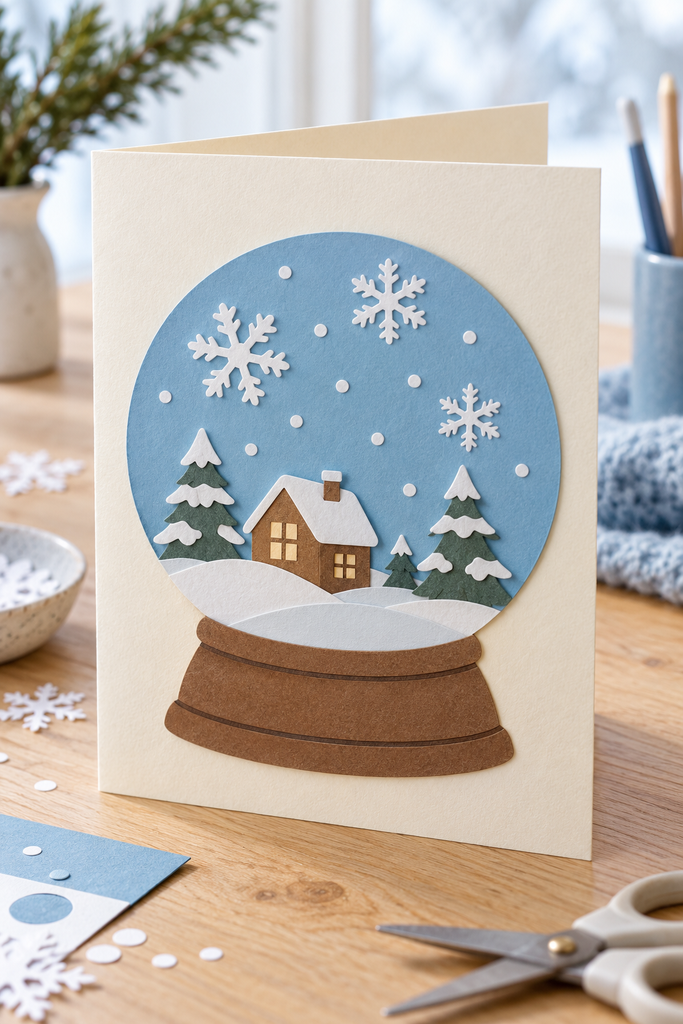
15. Snow Globe Greeting Card
This handmade card doubles as a craft and a thoughtful gift.
Supplies:
- Folded cardstock
- Blue and brown paper
- White paper
- Markers
- Glue
How to make it:
Glue a blue circle to the front of a folded card and add a brown base underneath.
Build a winter scene inside the circle using paper pieces or markers. Add snowflakes and write a message inside the card.
Try a simple greeting such as “Sending you a little winter magic!”
16. Contact Paper Snow Globe Suncatcher
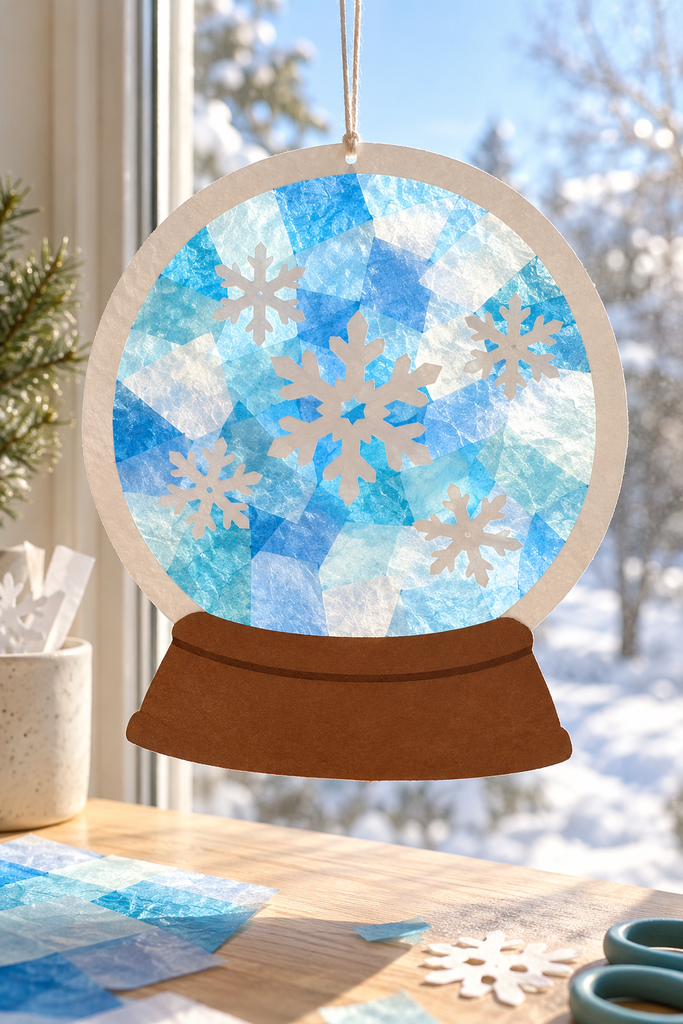
Hang this translucent snow globe in a window so daylight shines through its snowy colors.
Supplies:
- Clear contact paper
- Cardstock
- Blue and white tissue paper
- Paper snowflakes
- Scissors
How to make it:
Cut a globe-shaped frame from cardstock, leaving a wide border around an open center.
Place the frame on the sticky side of a sheet of clear contact paper. Have kids fill the opening with small pieces of blue and white tissue paper and a few paper snowflakes.
Cover with a second sheet of contact paper, smooth it down, and trim around the outside. Add a paper base and display it in a window.
17. Paper Bag Snow Globe Puppet
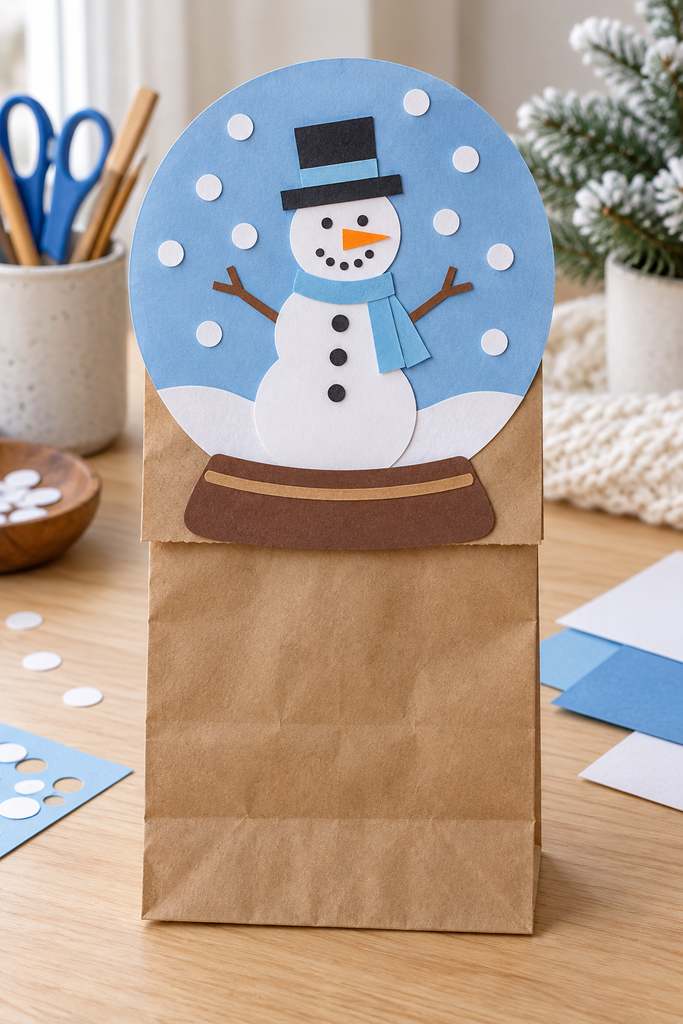
Give your snow globe a second life as a puppet for winter stories.
Supplies:
- Paper lunch bag
- Cardstock
- Construction paper
- Glue
- Markers
How to make it:
Make a cardstock snow globe with a paper snowman or winter animal inside.
With the paper bag lying flat and its bottom flap facing up, glue the globe to that flap. Keep glue away from the flap’s opening so the bag can still move.
Slip a hand inside and let kids invent a story about the character in their globe.
This is a fun option for children who enjoy pretend play after crafting.
18. Paper Snow Globe Shaker
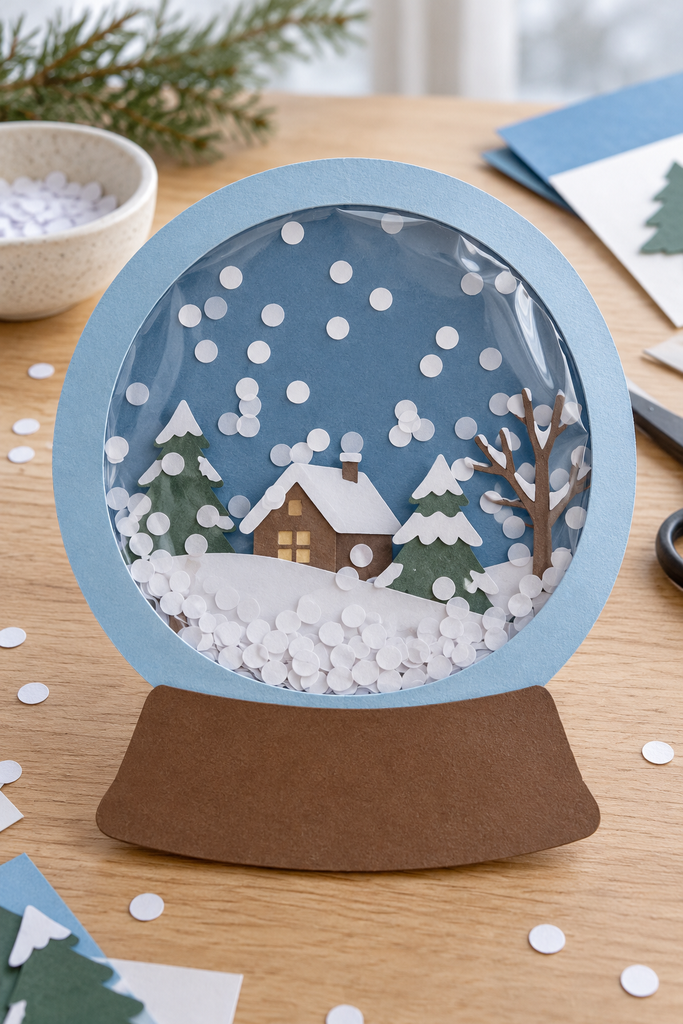
A clear pocket and a little paper confetti turn this flat craft into a snow globe kids can shake.
Supplies:
- Blue cardstock
- Clear plastic from a clean document sleeve
- White paper confetti
- Foam mounting tape
- Strong tape
- Glue
How to make it:
Create a winter scene on a blue cardstock circle. Place foam mounting tape around the outer edge to make a shallow border, leaving the protective backing on until you’re ready to close the craft.
Add a small amount of white paper confetti inside the border. Remove the backing and attach a clear plastic circle over the top. Cover the outer seam with strong tape to keep the confetti enclosed.
Add a cardstock frame and base. Tilt or shake gently to send the paper snow across the scene.
An adult should assemble and check the sealed pocket, especially when younger children will handle it.
Tips for Making Snow Globe Crafts with Kids
A little preparation makes these projects easier to enjoy:
- Cut out the main shapes first for younger kids. They can spend their time decorating and assembling.
- Use paper snow when you want easier cleanup. White confetti and torn tissue paper work well for dry crafts.
- Keep the scene simple. One snowman or one tree can look just as sweet as a whole winter village.
- Allow time for drying. Paper crafts can often be finished in one sitting, while sealed jars and dimensional paint need longer.
- Match the materials to your child’s age. Keep loose small pieces away from children who still put things in their mouths.
- Let the details be theirs. A purple penguin or a snowman with five buttons makes the craft feel like their own creation.
Make a Little Winter Magic
You don’t need a cupboard full of craft supplies to make something memorable. A paper circle, a handful of cotton balls, and a child’s imagination are enough to create a tiny snowy world.
Pick one of these snow globe crafts for kids, clear a little space at the table, and see what they put inside their winter scene.