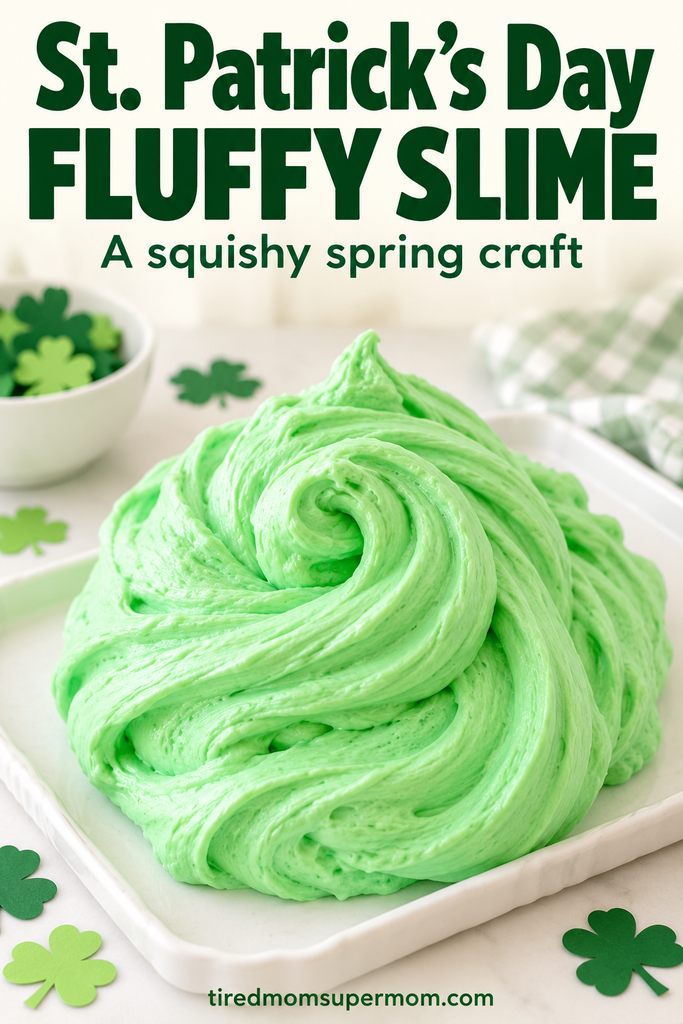
A little green, a little stretch, and a whole lot of squish—this St. Patrick’s Day fluffy slime recipe is a fun way to bring some hands-on play into your March celebrations.
Shaving foam gives this slime its soft, puffy texture, while green food coloring turns it into a festive holiday activity. Make a batch for an afternoon at home, a weekend craft session, or a small St. Patrick’s Day celebration.
Set out a washable tray, gather your supplies, and get ready to mix up some fluffy green fun!
What Makes This Slime Fluffy?
The secret is foam shaving cream. It adds air to the mixture, giving the slime a lighter texture than regular glue slime.
Use the kind that comes out of the can as foam—not shaving gel. White school glue also works well here, although it makes the finished green color more opaque than clear glue would.
Everything You Need
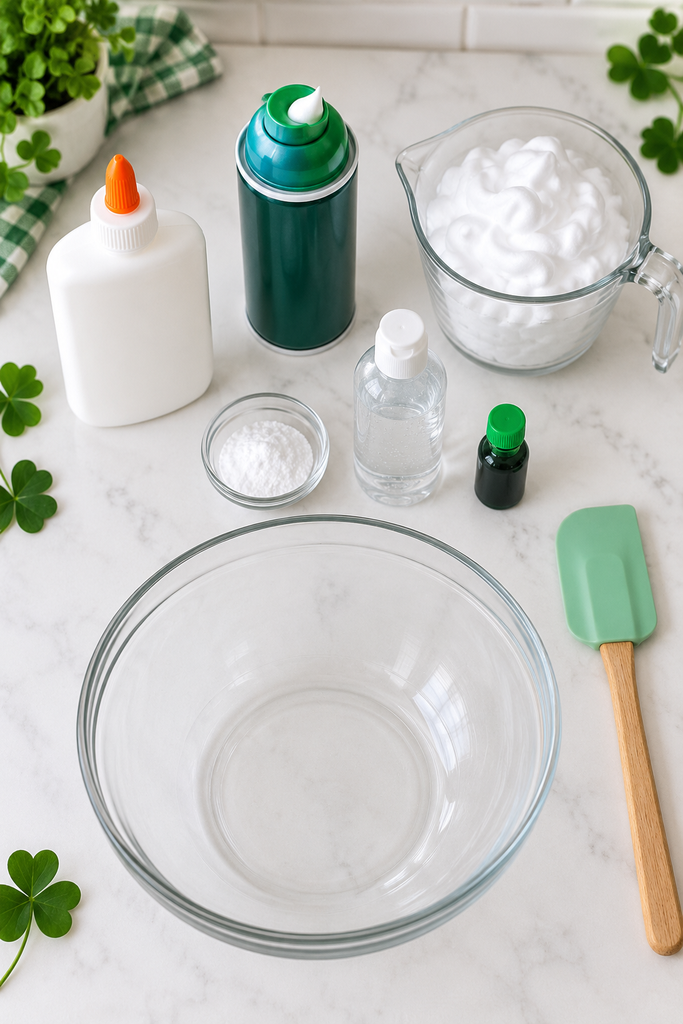
This recipe makes one batch to divide into a few small portions.
Ingredients
- ½ cup white PVA school glue
- 3 cups foam shaving cream
- ½ teaspoon baking soda
- 1 tablespoon contact lens solution, plus a little extra if needed
- Green food coloring, added a few drops at a time
These basic proportions follow KiwiCo’s fluffy slime activity. The amount of activator needed can vary with the products you use.
Supplies
- Large mixing bowl
- Mixing spoon or spatula
- Measuring cups and spoons
- Washable tray or protective table covering
- Airtight storage container
Check your contact solution before starting: it needs to contain boric acid or sodium borate to activate the slime. Plain saline may not work. This recipe uses contact solution rather than powdered borax, but it is not borate-free.
Adult supervision is required. This is a craft mixture, not food, and it is unsuitable for children under three or children who still mouth play materials. Wash hands before and after play.
How to Make St. Patrick’s Day Fluffy Slime
1. Prepare Your Workspace
Cover the table and place your bowl on a washable tray. Food coloring can stain, so use a protected surface and clothes you do not mind getting messy.
Measure the ingredients before you begin. Keep the contact solution separate until the other ingredients are mixed.
2. Mix the Glue and Baking Soda
Pour ½ cup white school glue into the bowl.
Add ½ teaspoon baking soda and stir until combined.
3. Add the Shaving Foam
Measure approximately 3 cups foam shaving cream and fold it into the glue mixture.
Use a large bowl so there is plenty of room to stir. The mixture should look soft and puffy at this stage.
4. Make It Green
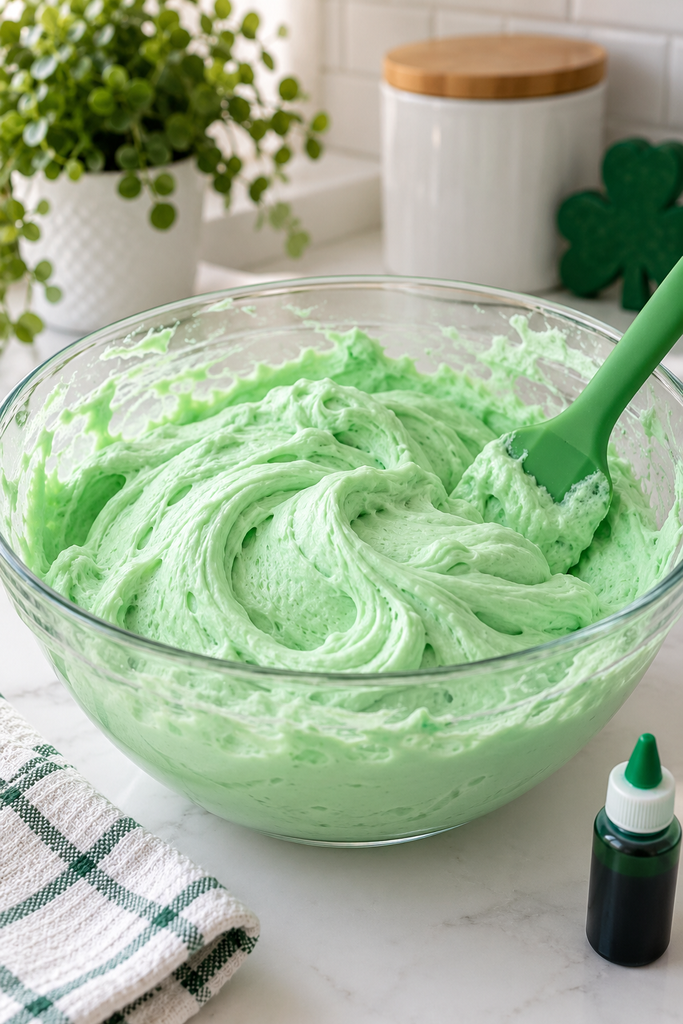
Add a few drops of green food coloring and stir gently.
Start with a small amount, then add more until you like the shade. The white glue and shaving foam will lighten the color, so expect a softer green at first.
Try pale mint for a gentle spring look or a brighter green for classic St. Patrick’s Day slime.
5. Add the Activator Gradually
Slowly add 1 tablespoon contact lens solution while stirring.
The mixture should begin gathering together and pulling away from the sides of the bowl. Keep mixing to distribute the solution evenly.
Avoid adding a large extra splash. Too much activator can make slime firm and difficult to stretch.
6. Knead Until It Comes Together
Once the mixture forms a soft mass, knead it with clean hands for a few minutes.
A little stickiness at the beginning is normal. If it remains very sticky after kneading, add a few drops of contact solution, work them in thoroughly, and reassess.
Stop adding activator as soon as the slime becomes manageable. The finished texture should be soft, fluffy, and stretchy.
Fun St. Patrick’s Day Slime Ideas
You can make this activity feel festive without adding anything extra to the slime itself.
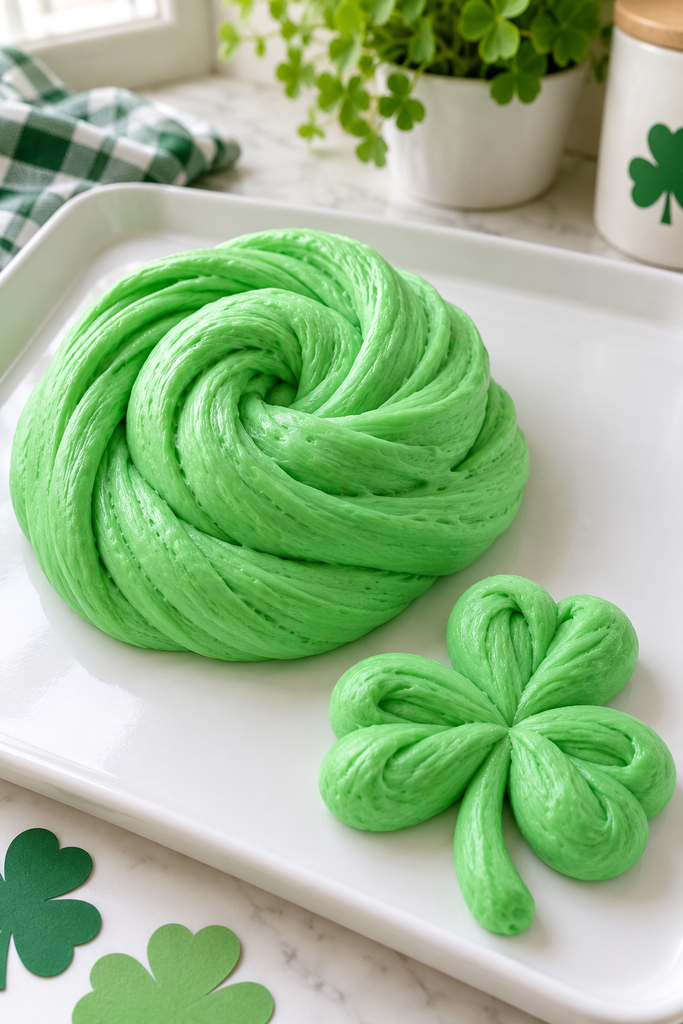
Make a Leprechaun Swirl
Roll the slime into a thick rope, then coil it into a green swirl. Stretch it out and see who can create the longest ribbon before it breaks.
Create a Shamrock Shape
Divide a portion into three rounded pieces and one short stem. Arrange them into a shamrock on the tray, then squish everything back together.
Serve It in a “Pot of Gold”
Place the green slime in a clean black plastic bowl. Decorate the outside with paper gold coins or a rainbow cutout for a simple holiday presentation.
Try Two Shades of Green
Make two separate batches, coloring one pale green and the other darker green. Twist small portions together for a marbled effect.
The colors will gradually blend as children knead and stretch them.
Troubleshooting Your Fluffy Slime
My Slime Is Too Sticky
Knead it for a few minutes before adding more activator. If it still clings heavily to your hands, add contact solution a few drops at a time.
If the mixture stays completely liquid, check that your glue is PVA school glue and that your contact solution contains the required activating ingredients.
My Slime Is Too Firm
Too much activator is a common cause. Stop adding contact solution and try stretching the slime slowly.
A badly overactivated batch may be easier to remake. Next time, add the activator gradually and knead between additions.
My Slime Lost Its Fluffiness
That is expected. The air from the shaving foam escapes over time, so fluffy slime becomes denser as it sits.
For the puffiest texture, make it close to playtime.
How to Store Fluffy Slime
Put the slime in an airtight container when you finish playing.
It is best enjoyed the day you make it; the fluffy texture may last only about a day. Discard it if it becomes dirty, smells unusual, or develops mold. Put unwanted slime in the trash rather than washing it down the sink.
A Squishy Way to Celebrate
This St. Patrick’s Day fluffy slime gives kids something fun to mix, stretch, swirl, and shape. Keep the setup simple, let them choose their favorite shade of green, and enjoy a little festive mess together.
Save this recipe for your next St. Patrick’s Day craft afternoon!