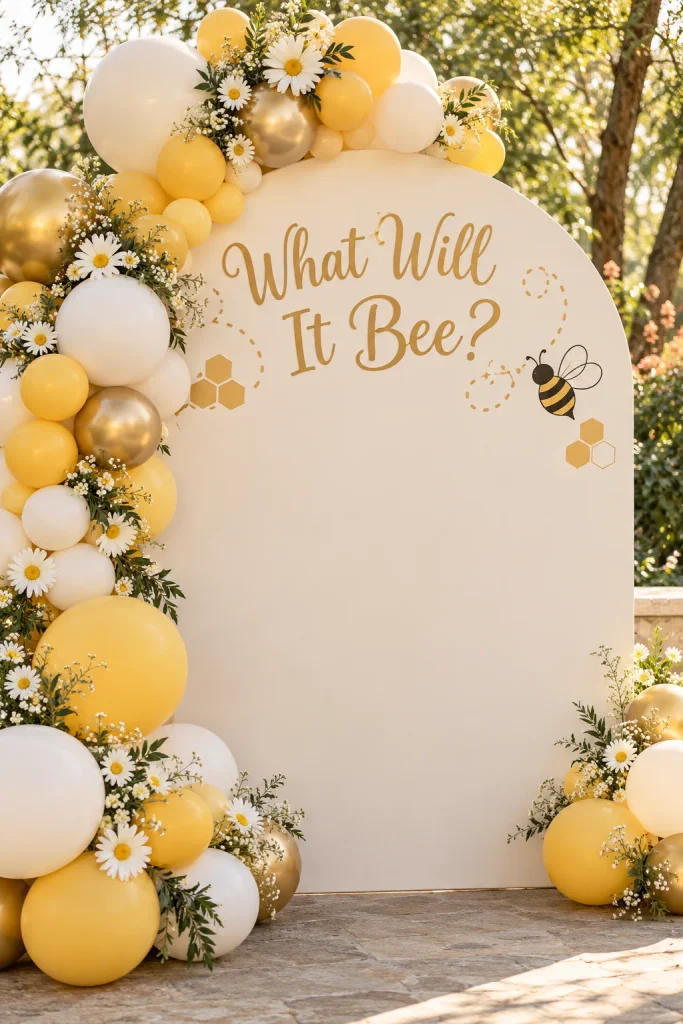
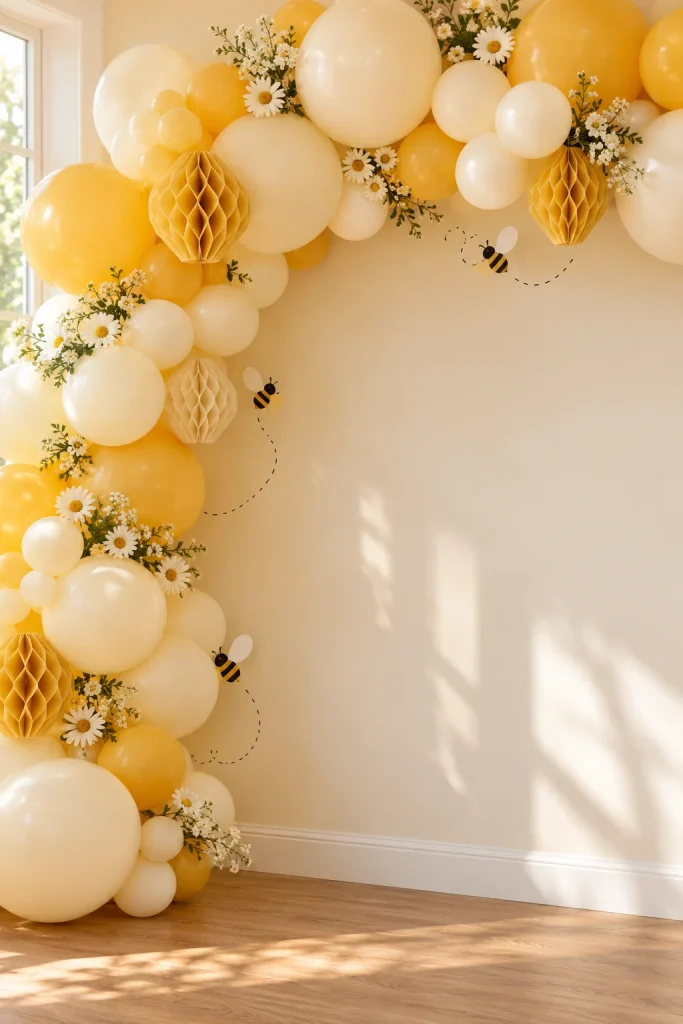
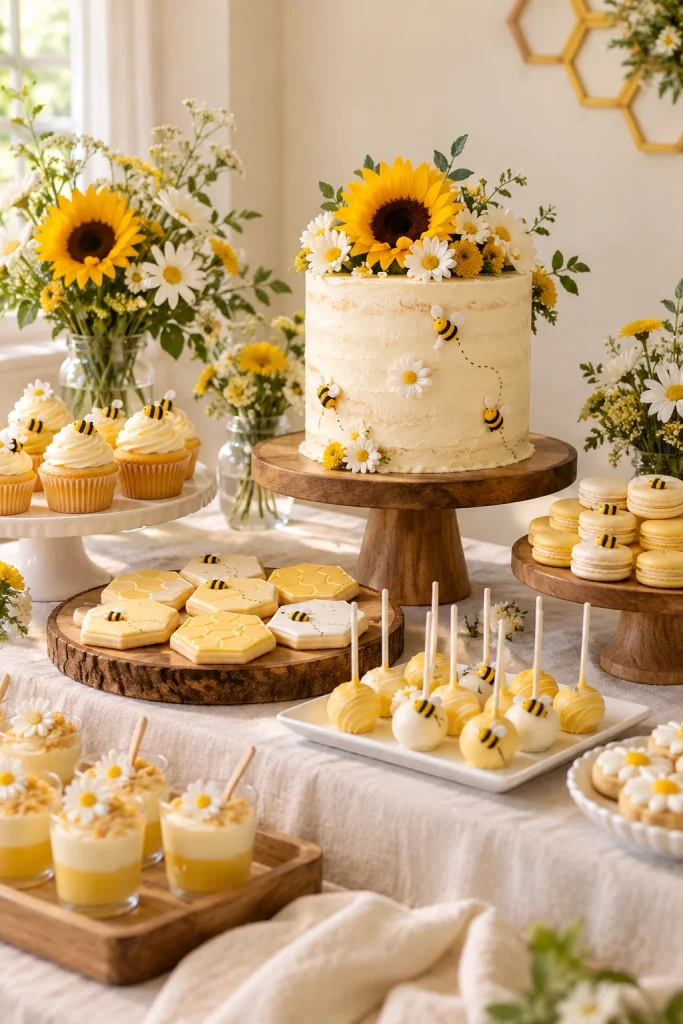
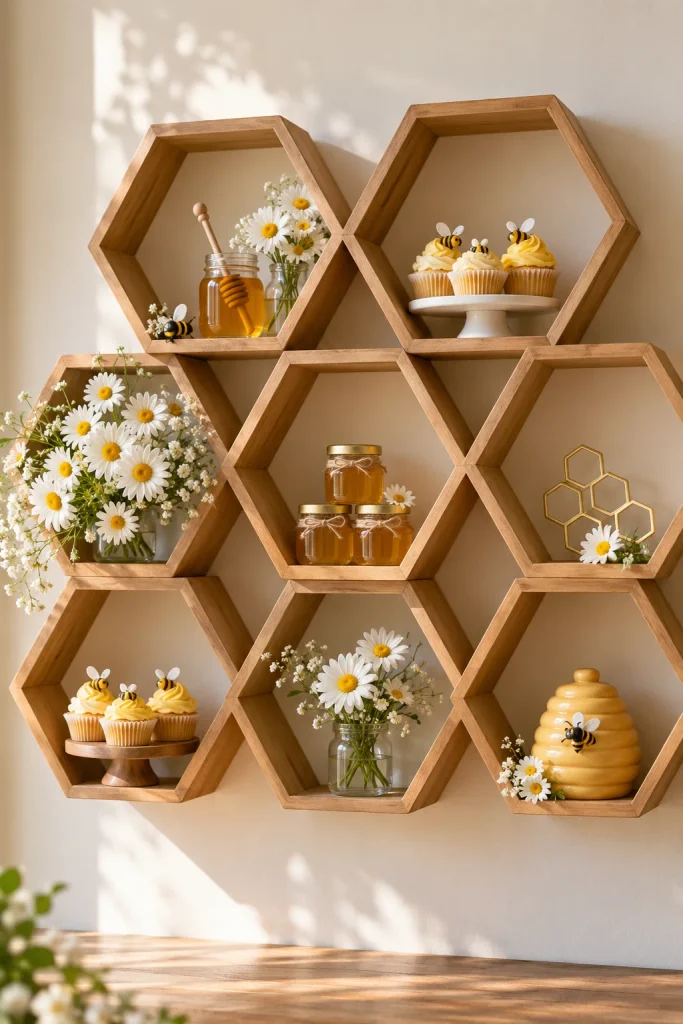
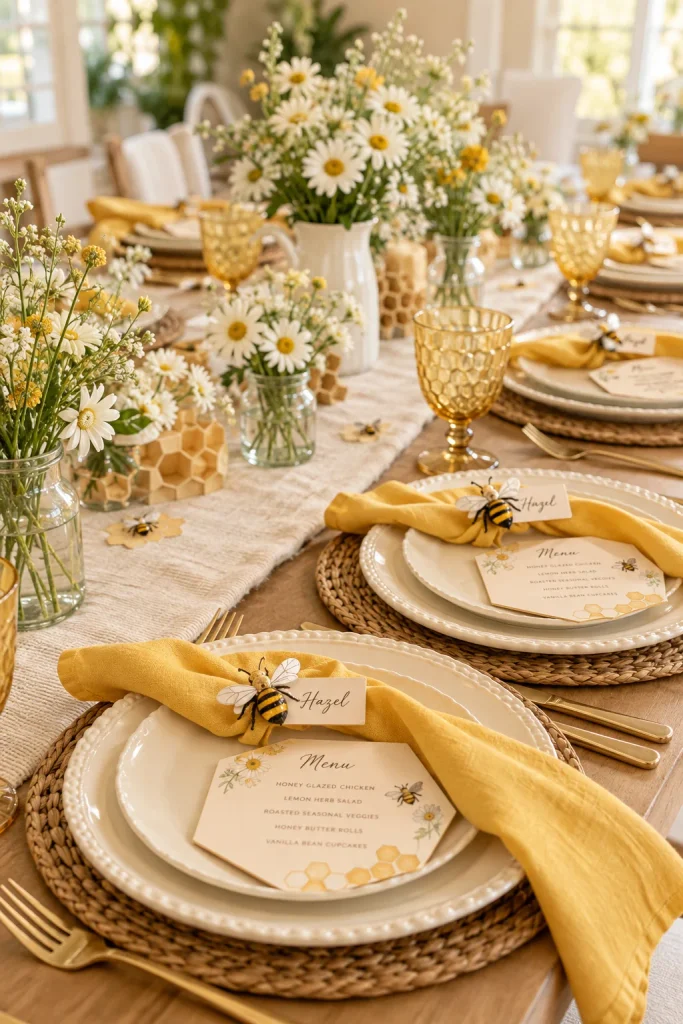
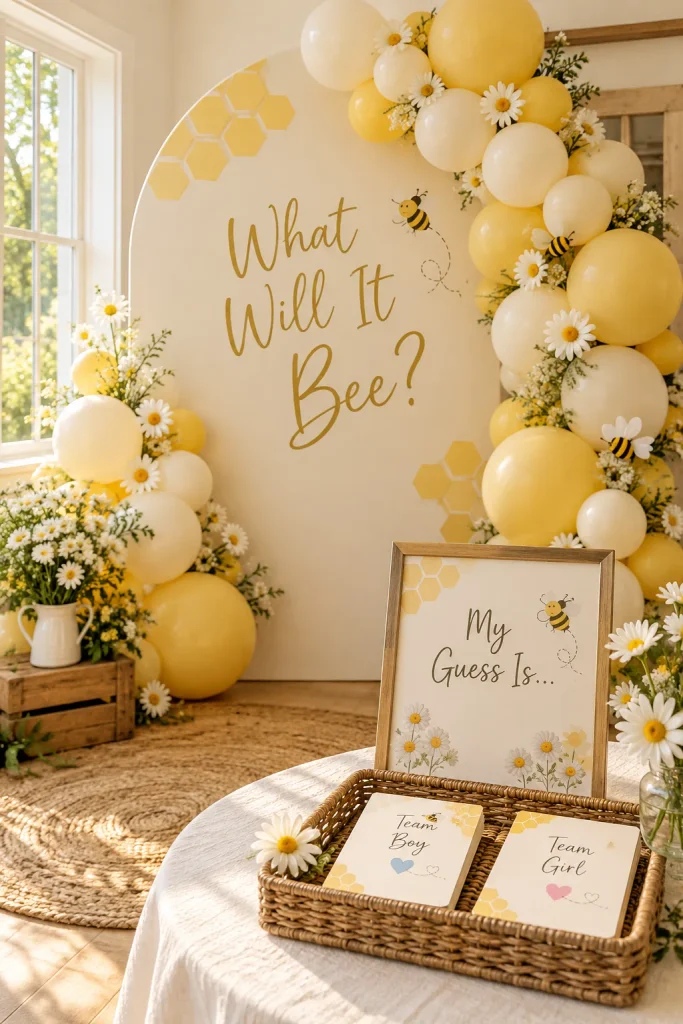
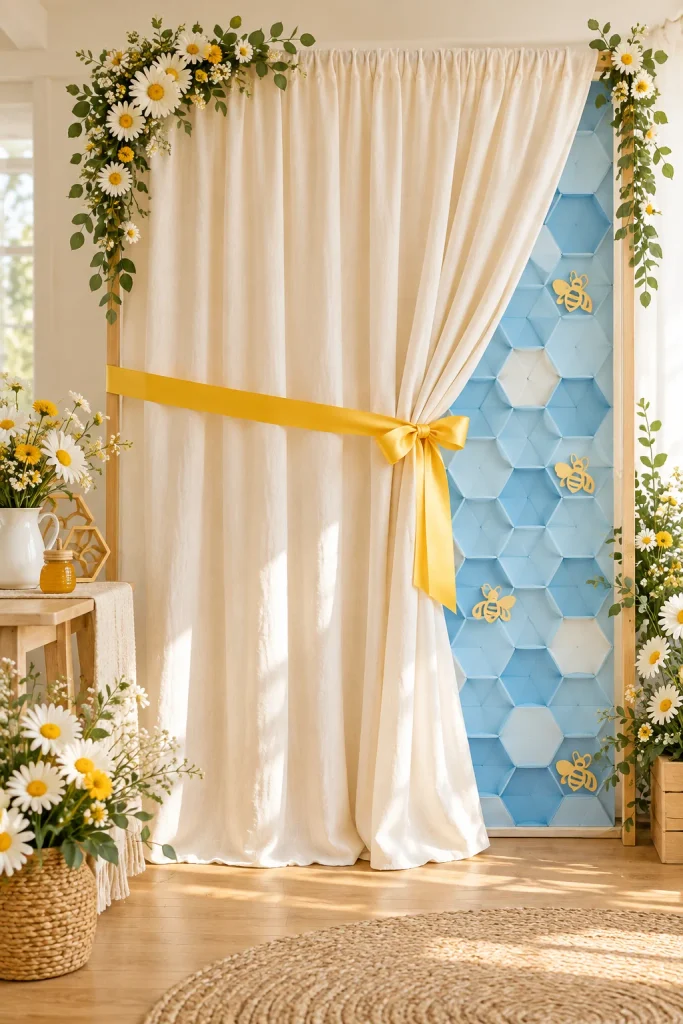
Bee-themed gender reveal table setting with golden balloons, sunflowers, and honeycomb decorations

What Will It Bee? The Complete Guide to a Golden Gender Reveal Party

Quick Answer: A “What Will It Bee?” party is a honey-themed gender reveal combining golden décor, bee-inspired puns, and playful design elements. Success requires 4–6 weeks of planning, including a cohesive color palette (honey, cream, black, soft florals), layered decorations, themed food and drinks, interactive games, and a memorable reveal moment—all timed precisely to feel effortless and radiant.

Why Bee-Themed Gender Reveals Feel So Right

There’s something irresistibly joyful about a “What Will It Bee?” gender reveal. The moment guests walk in, they’re met with a golden glow — honey tones, fluttering imagery, and that sense of sweet anticipation that only a new beginning brings. It’s playful yet polished, filled with charming details that feel both whimsical and wonderfully thought out.

Unlike gender reveals that rely on shock value or over-the-top reveals, a bee-themed party anchors itself in warmth, nature, and genuine celebration. The theme works because it’s inherently optimistic — bees are hardworking, communal, and, well, productive. The puns write themselves. And the aesthetic is forgiving: it works in backyards, gardens, community spaces, and even indoor settings. Golden hour light hits honey tones and makes everything look magazine-worthy without trying.

But here’s what separates a “we threw this together” party from one people remember for years: clarity on timing and execution. Most guides show you what to buy and how it looks. This one shows you exactly when to buy it, how to prep without going mad, and how to stay confident you haven’t forgotten a thing.

Heads up: This post may include affiliate links. As an Amazon Associate, I earn from qualifying purchases—at no extra cost to you. Full privacy policy and disclosure here.

The Master Planning Timeline: Your Roadmap to a Stress-Free Reveal

This is the differentiator. Use this timeline as your north star — check it weekly and you’ll never feel behind.

6 Weeks Before Reveal: Lock In the Vision

Your Big Decisions This Week:

  • Confirm date and venue. Most parents host at 18–20 weeks post-anatomy scan, giving time to plan. Book outdoor venues early (parks, gardens, backyards). For indoor parties, confirm availability and any setup restrictions.
  • Decide on reveal method. Will it be a confetti balloon pop, a cake cut, a piñata, or something else? This decision affects timing, budget, and what needs ordering first. (See “The Big Reveal” section for options.)
  • Set guest count and invite list. 25 guests requires different food and space logistics than 75. Make a realistic list now.
  • Choose your color palette. Commit to honey gold, cream, black, and one or two soft accent colors. This single decision streamlines every future purchase.
  • Assign a planning point person. You don’t have to do everything yourself. Delegate vendor coordination, décor shopping, or food to trusted helpers.

Action Items Due This Week: Venue booked. Date locked. Reveal method chosen. Color palette decision made.

4 Weeks Before: Orders and Invitations

Your Big Decisions This Week:

  • Send invitations. Physical invitations need 2–3 weeks to print and mail. Digital invites can go out now too. Include your date, venue, time, and RSVP deadline (1 week before party).
  • Order custom or specialty items. Balloon garland kits (1–2 week lead time), custom cake toppers, printed game templates, or specialty linens should be ordered now. This is your last-chance window for custom work.
  • Book your baker or dessert vendor. If you’re not making the cake, order now. Reveal cakes need lead time, especially if they’re custom-designed.
  • Scout decoration sources. Create a spreadsheet of what you’re ordering from where (Amazon, Etsy, party store, dollar store). Include product links, quantities, prices, and expected delivery dates.

Action Items Due This Week: Invitations mailed or digital. Custom items and cake ordered. Vendor spreadsheet completed. First batch of décor items ordered (anything with more than 1-week lead time).

2 Weeks Before: Food and Final Details

Your Big Decisions This Week:

  • Finalize your menu. Decide what you’re making, buying, or having catered. Plan what can be prepped 3 days ahead (baked goods, stocks for soup), what needs 1-day prep (chopping, assembling), and what’s morning-of only (final plating, drinks).
  • Plan your games and activities. Print any game templates. Confirm you have supplies (cards, pens, etc.). Assign someone to run games if it’s not you.
  • Confirm RSVPs and finalize headcount. You need a final count to finalize food quantities. Push for confirmations this week.
  • Order remaining décor items. Anything still needed that has a week or less lead time. This is your final ordering window.
  • Create a setup day timeline. Sketch out what happens when on party day (arrival time, setup order, when to light candles, when to chill drinks, etc.).

Action Items Due This Week: Final menu locked. Games planned. RSVPs confirmed. Setup day timeline drafted. All remaining décor ordered.

1 Week Before: Prep Mode

Your Big Decisions This Week:

  • Start food prep. Bake cookies, make stocks, prepare marinades, chop vegetables. Anything that holds well in the fridge gets done now.
  • Confirm all deliveries have arrived. Check off everything on your decoration checklist. Note any missing items immediately so there’s time to source alternatives.
  • Charge cameras and confirm photographer. If you’re hiring a photographer, confirm timing. If guests are shooting, remind them to get good light.
  • Print all signage, game cards, and place cards. Do this early in case you need to reprint.
  • Confirm your reveal logistics. If it’s a confetti pop balloon, fill it now. If it’s a cake reveal, confirm pickup or final decoration timing with your baker. If it’s a piñata, set up and fill it the night before.

Action Items Due This Week: Food prep 70% complete. All décor items arrived and checked. Signage printed. Reveal logistics confirmed and prepped.

Reveal Week: The Final Push

Thursday or Friday (2–3 Days Before): Final food prep (anything that needs overnight chilling), confirm vendor timing, and do a mental walk-through of setup day.

Setup Day (The Day Before or Day-Of):

  • 4 hours before guests arrive: Arrive at venue. Assess lighting and weather. Set up tables, chairs, and backdrops.
  • 3 hours before: Hang balloon garlands and signage. Arrange centerpieces.
  • 2 hours before: Set up food and beverage stations (platters prepped, drinks chilled, glasses out).
  • 1 hour before: Light candles, final décor touches, test music system, confirm bathroom is guest-ready.
  • 30 minutes before: Get yourself ready. Take a breath.
  • Game time: Greet guests as they arrive. Let the evening unfold.

Action Items Due This Week: All prep complete. Venue decorated. Food prepped and ready to serve. You’re calm and ready to celebrate.

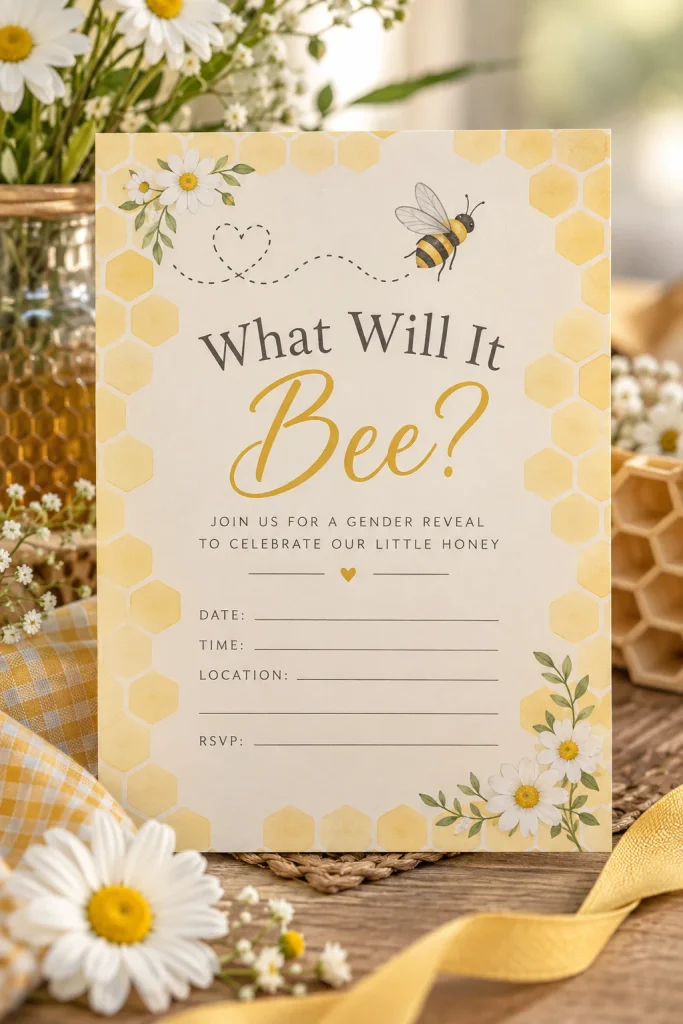
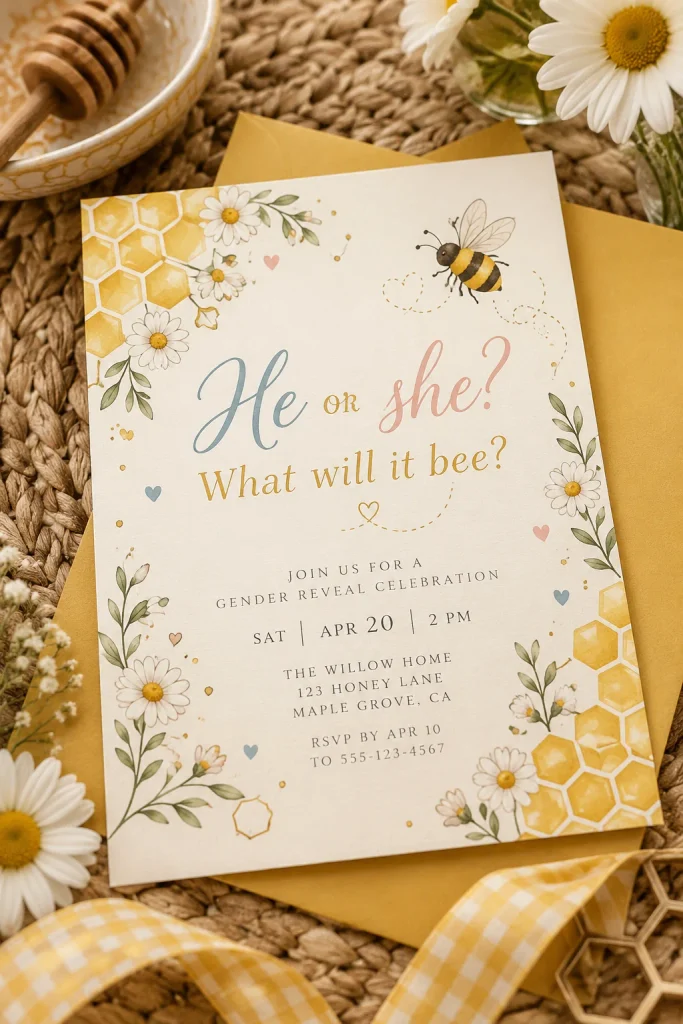
Set the Buzz with Bee-Themed Invitations

Every unforgettable celebration begins with the perfect invitation. It’s the first glimpse guests get of what’s to come—a preview of your theme, your tone, and your excitement.

Bee-Inspired Invitation Wording Ideas

Choose phrases that feel both charming and timeless — playful enough to make people smile, elegant enough to display on the fridge:

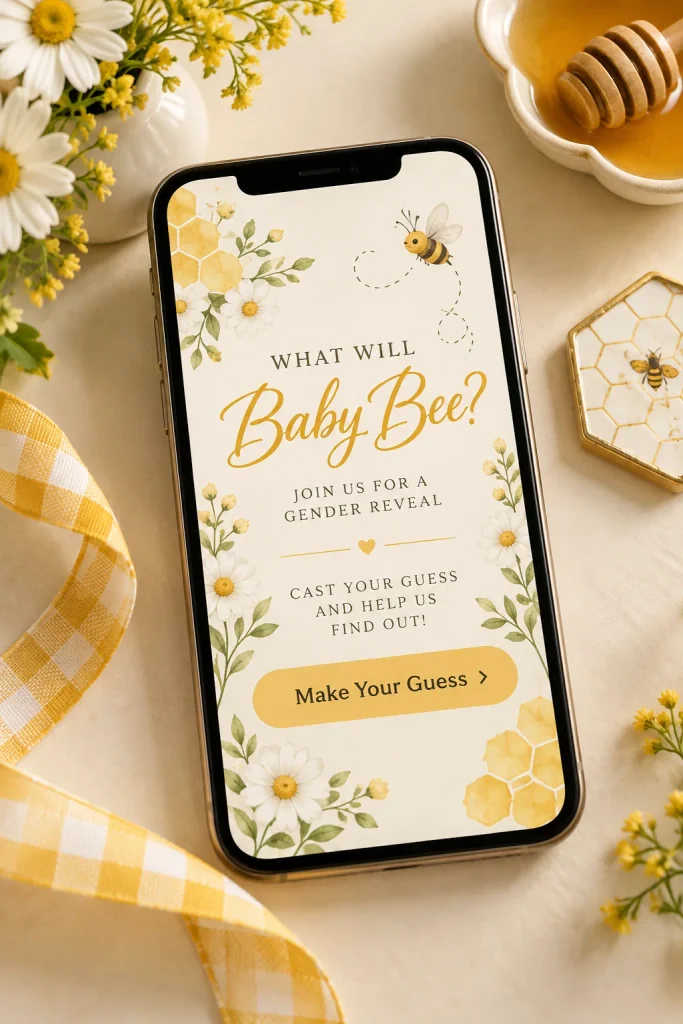
  • “What Will Baby Bee? Come and See!”
  • “He or She — What Will It Bee?”
  • “Buzz On Over for a Sweet Surprise!”
  • “We’re Expecting a Little Honey Bee — Join Us to Discover What They’ll Bee!”
  • “Save the Date — Something Sweet Is On the Way!”

Design Elements That Pop Without Feeling Chaotic

Printed cards: Opt for textured paper with subtle honeycomb patterns or embossed bee motifs. Add a touch of gold foil or a watercolor floral edge. Soft script fonts paired with clean sans-serif keeps it sophisticated. Wax seal closure in honey gold elevates the keepsake factor.

Digital invites: A clean design with a honey gold background, cream text, and small bee illustrations reads beautifully on mobile. Include a clear RSVP link and add a P.S. line like, “Dress in golden yellows, soft blacks, pastels, or your guess of the baby’s gender!”

Pro tip: If DIY isn’t your style, pre-made bee-themed invitation sets capture the same charm effortlessly, saving you time without losing the aesthetic.

Timing Your Invitations

Send invitations 4–6 weeks before your party date. This gives guests time to clear their calendars and lets you plan for final headcount with confidence. Include a clear RSVP deadline (1 week before party) so you have time to adjust food quantities and seating.

The Bee-utiful Palette: Color and Aesthetic Choices

A cohesive color palette is the backbone of a visually stunning reveal. It’s the single decision that makes everything else feel intentional rather than randomly gathered.

Your Core Palette: Honey, Cream, Black

Honey gold: Not bright yellow. Think warm, muted, amber — like sunlight through honey. This is your dominant color. Use it in balloon garlands, linens, signage, and accent flowers.

Cream or ivory: Your breathing room. Balloons, linens, and backdrop panels in cream prevent the palette from feeling heavy. It also lets gold shine without visual competition.

Black: Surprisingly sophisticated. Thin black lines in signage, black balloons woven through garlands, black table runners — these small touches add refinement and prevent the palette from feeling too sweet.

Accent Colors: Choose One or Two

If you want soft elegance: Add pale pink, blush, or sage green. These pair beautifully with honey and gold without competing for attention. Perfect for florals and subtle textiles.

If you want earthy richness: Add terracotta, warm brown, or deep sage. These anchor the palette in nature and pair gorgeously with gold in metal finishes and wood elements. Perfect for wooden table decor and rustic centerpieces.

The rule: Don’t use more than two accent colors. Restraint is what makes a palette feel curated rather than chaotic.

How to Apply This Palette Across Every Element

Balloons: Gold, cream, and black, with one or two accent color balloons woven through for visual interest.

Linens and table runners: Cream base with a gold or gold-and-black runner down the center.

Florals and greenery: Sunflowers, daisies, or yellow roses in gold tones. Add cream flowers (baby’s breath, white roses). Greenery in sage or soft eucalyptus.

Signage and custom décor: Gold lettering on black or cream backgrounds. Small black bee motifs or honeycomb patterns as accents.

Metallics: Gold throughout (chairs, table accents, cake toppers). Keep silver and rose gold out of this palette — they’ll feel out of place.

Decorations That Create the Wow Factor

Stunning décor isn’t about buying expensive things. It’s about layering intentional details so the space feels thought-out and radiant.

Category 1: Statement Backdrops and Signage

The “What Will It Bee?” sign: This is your centerpiece focal point. A large wooden or cardboard sign with white or gold lettering against a black or cream background. Place it where the afternoon light hits it — perfect for photos. Budget option: DIY with poster board and paint. Splurge option: pre-made custom signs with professional finishes.

Honeycomb backdrop wall: String honeycomb paper lanterns or decorations from ceiling to create depth. This gives guests a textured backdrop for photos and makes the space feel intentionally designed. Layer gold, cream, and black hexagons for visual rhythm.

Entrance statement: A “He or She, What Will It Bee?” yard sign at the entryway immediately signals the theme and sets the tone.

Category 2: Balloon Garlands and Ceiling Elements

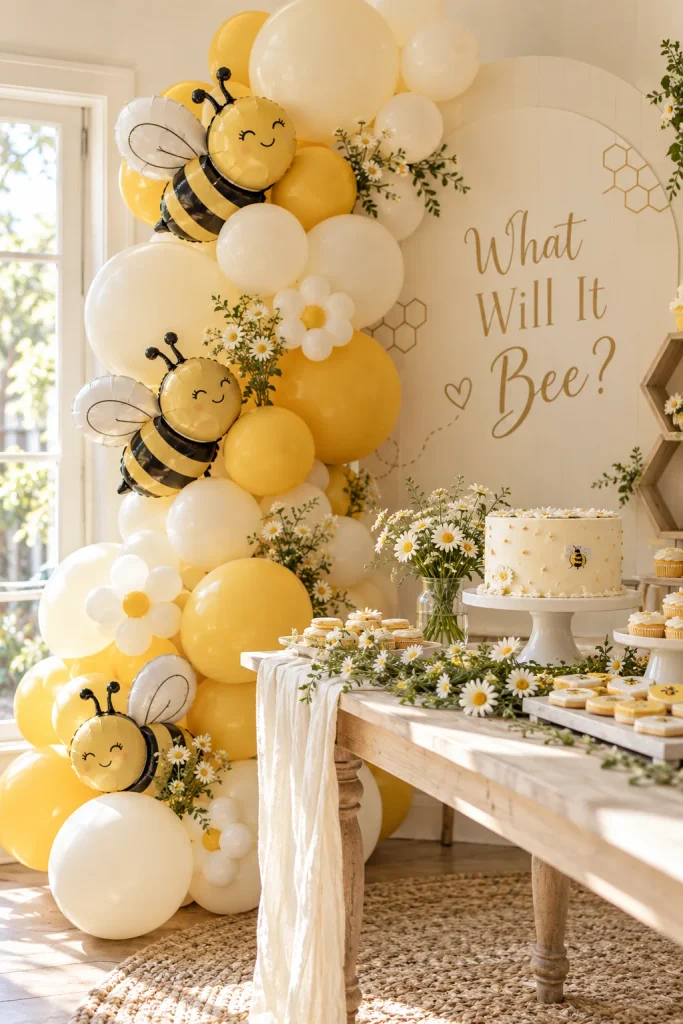
Sunflower and bee balloon garland in gold, cream, and black for a What Will It Bee party

DIY garland: Start with a base of gold, cream, and black balloons (mix matte and pearl finishes for texture). Weave in one or two accent color balloons. Add greenery, small wooden bee cutouts, or gold leaves as you go. This takes patience but creates a custom, professional look.

Pre-made garland: Balloon garland kits in honey and cream tones come mostly assembled — you just fill, tie, and arrange. Less stress, professional look.

Hanging swirls: Spiral ceiling decorations in gold and cream add movement and make the space feel alive. They catch light and photograph beautifully.

Category 3: Table Centerpieces and Linens

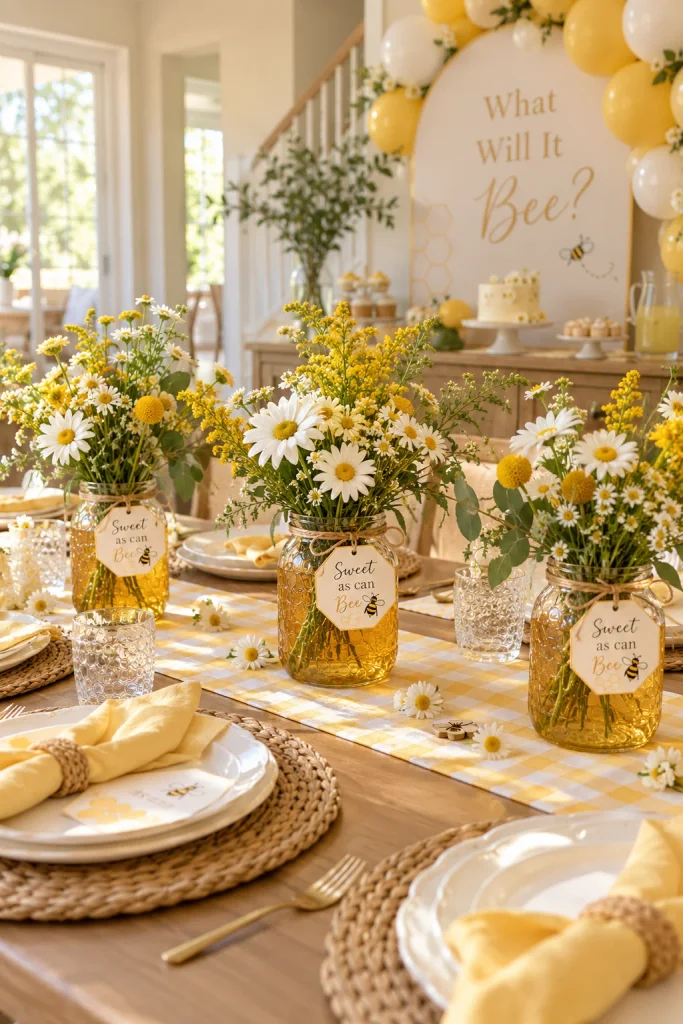
The mason jar centerpiece: Fill clear mason jars with sunflowers or daisies, tie with twine, and perch a small wooden bee on the rim. This is rustic-yet-refined and costs under $15 per table. Add a place card on cardstock that says the table name: “Honey,” “Golden,” “Sweet Dreams,” etc.

Pre-made centerpieces: Bee-themed floral centerpieces capture the same charm if you’re short on time. Choose ones with sunflowers and natural wood accents.

Linens: Cream or gold tablecloths with a gold or black runner down the center. Add a small honeycomb or bee charm at each place setting. This ties the whole table together without much effort.

Category 4: Detail Touches That Tell the Story

Bee-themed balloon backdrop with yellow flowers and honey-inspired decorations

At the entrance: A “Mommy-to-Bee” sash for the guest of honor adds personality and makes her feel celebrated. Pair it with a grandma badge for grandparents-to-be. These small gestures feel joyful and make guests feel they’re part of the story.

Around the space: Small wooden bee cutouts scattered on tables, hanging from garlands, or placed near the food table. These tie the theme together without screaming “bee” — they feel like details, not decoration.

Budget-Friendly Decoration Strategy: Focus splurge money on one statement backdrop (people photograph in front of it). Use budget options for everything else: balloon DIY, dollar-store centerpiece filler, printed signage.

Splurge-Worthy Elements: Custom invitations, professional balloon installation, premium florals, custom cake topper, quality linens.

Food and Drink Menu: Sweet, Savory, and Sippable

Beautiful décor sets the stage — but unforgettable food seals the memory. Your menu should feel as golden and joyful as the theme itself.

Savory Bites That Sparkle

Honey-Glazed Chicken Skewers feel elegant on a cocktail plate. The glaze catches light, and they’re eaten standing up during mingling. These can be made 2 days ahead and reheated gently before serving.

Honey Mustard BLT Sliders are a crowd favorite. Assemble them 2–3 hours before guests arrive, wrap in parchment to keep fresh. The honey mustard aioli elevates them beyond typical party fare.

Savory Pastry Puffs — cheese and herb gougères or spinach phyllo triangles — can be baked ahead and warmed right before serving. They’re elegant, can be made 3 days in advance, and guests always ask for the recipe.

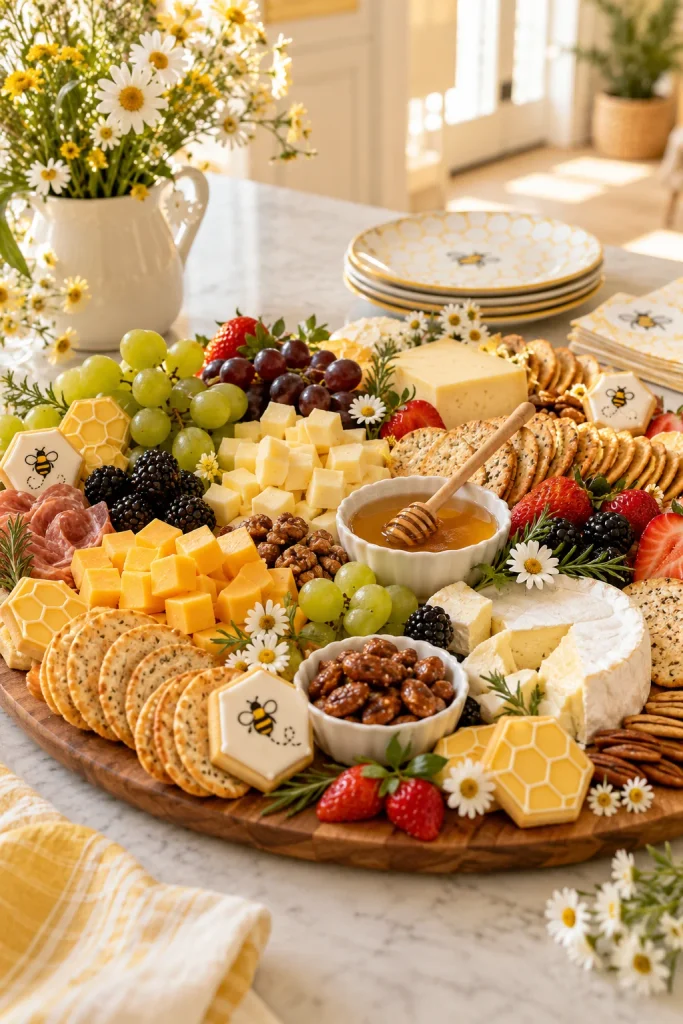
Charcuterie Board Elements: Include honey-infused cheeses, cured meats, honeycomb candy, roasted nuts, and crackers. Arrange on a wooden board or gold table runner. Bees and honey, right? This plays directly into the theme.

Timing tip: Plan savory bites to be ready and served in the first hour. This keeps energy up as guests arrive and mingle before the main event.

Finger foods and appetizers arranged for a bee-themed gender reveal party

Sweet Treats: The Heart of the Celebration

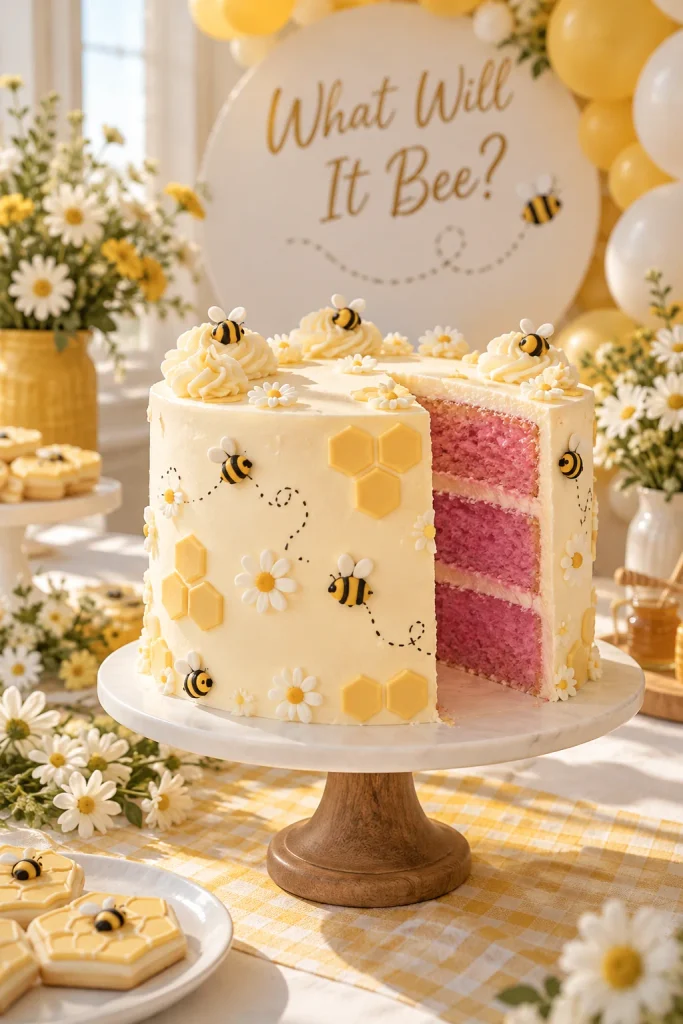
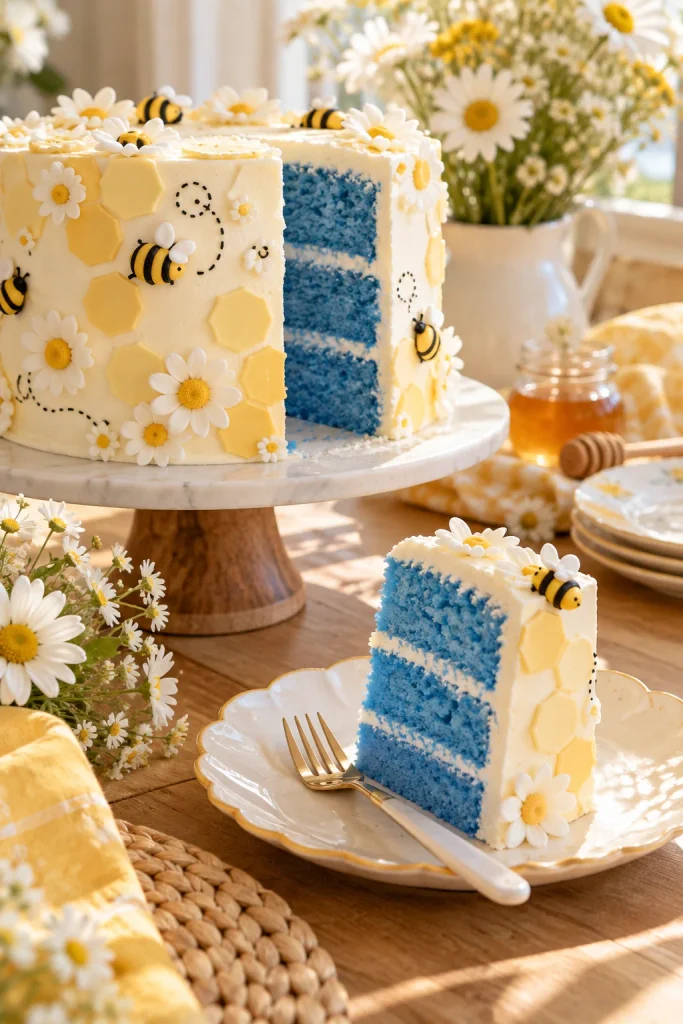
The Signature Cake: This is your hero. A buttercream masterpiece in honey or cream tones with a pink or blue filling inside for the reveal. Crown it with delicate fondant bees or a custom cake topper that reads “What Will It Bee?” The reveal moment — slicing into it with everyone watching, revealing pink or blue — is emotional and photo-perfect. Order this 3–4 weeks ahead if custom.

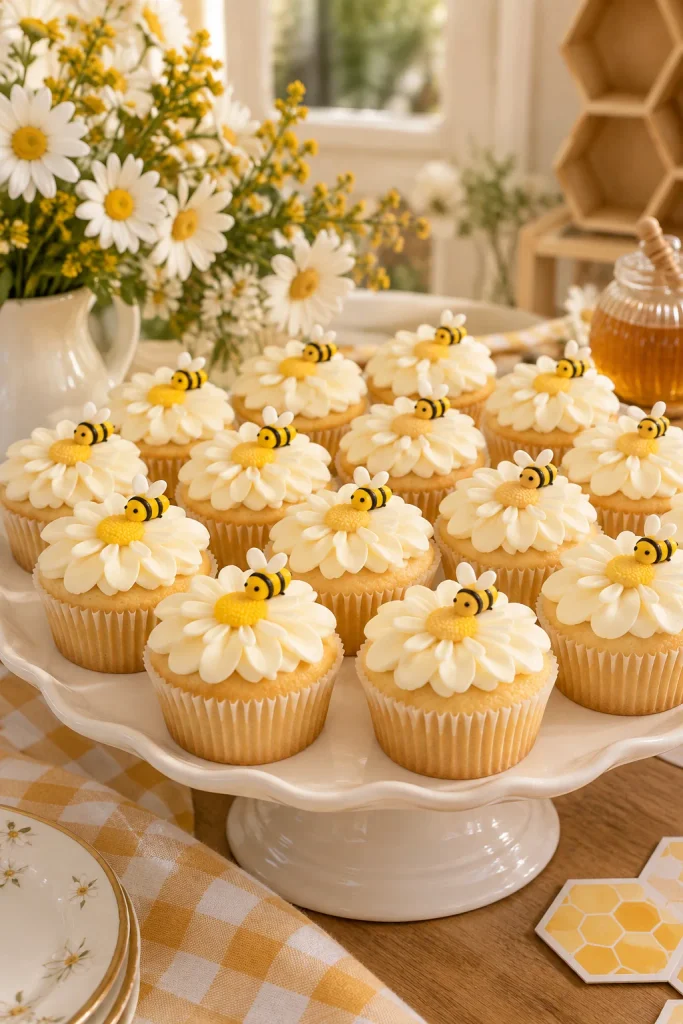
Cupcake Alternatives: If a single cake feels too much pressure, display cupcakes swirled in soft yellow frosting on a bee-themed cake stand. Top each with a bee cupcake topper or edible honeycomb. Everyone gets a cake and it feels less singular — though less dramatic for the reveal.

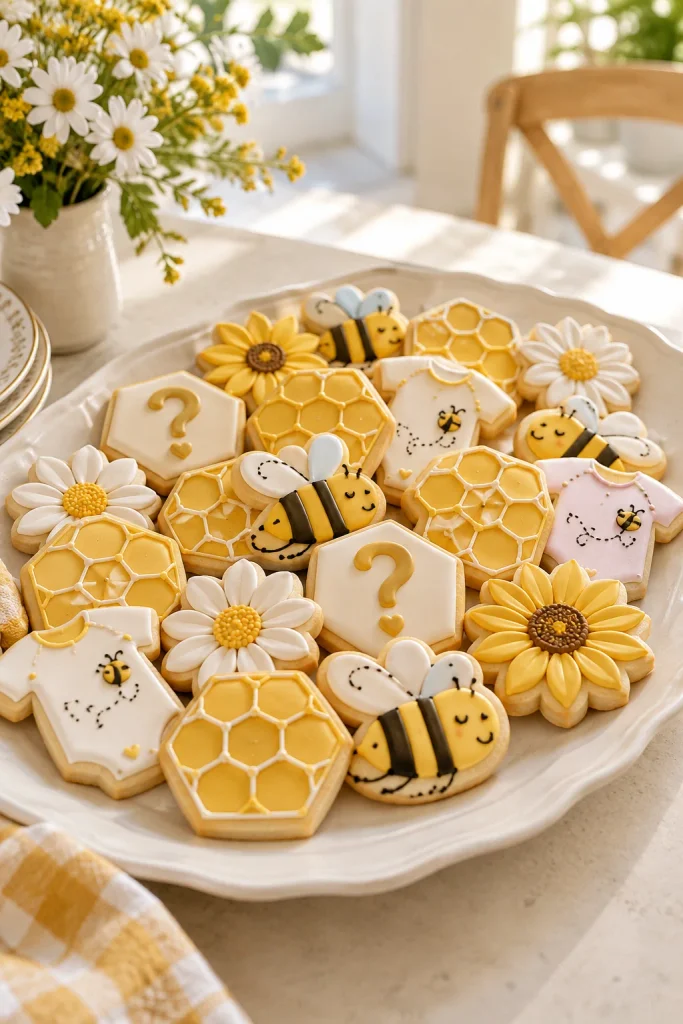
Sugar Cookies and Honeycombs: Decorate sugar cookies as bees, flowers, or honeycomb shapes with pastel royal icing. Display on a tiered stand or cake board. These feel whimsical and are beautiful for photos.

Honey-Drip Accents: If your cake is simple buttercream, add a honey drip down the sides (real honey or a honey-tinted chocolate ganache). This nod to the theme feels elegant and intentional.

Prep timing: Cakes can be baked 2 days ahead. Frost and decorate the morning-of or day-before depending on weather. Cookies can be made 4–5 days ahead and stored in an airtight container.

Bee-shaped sugar cookies decorated with honeycomb details for a gender reveal dessert table

Drinks That Refresh and Delight

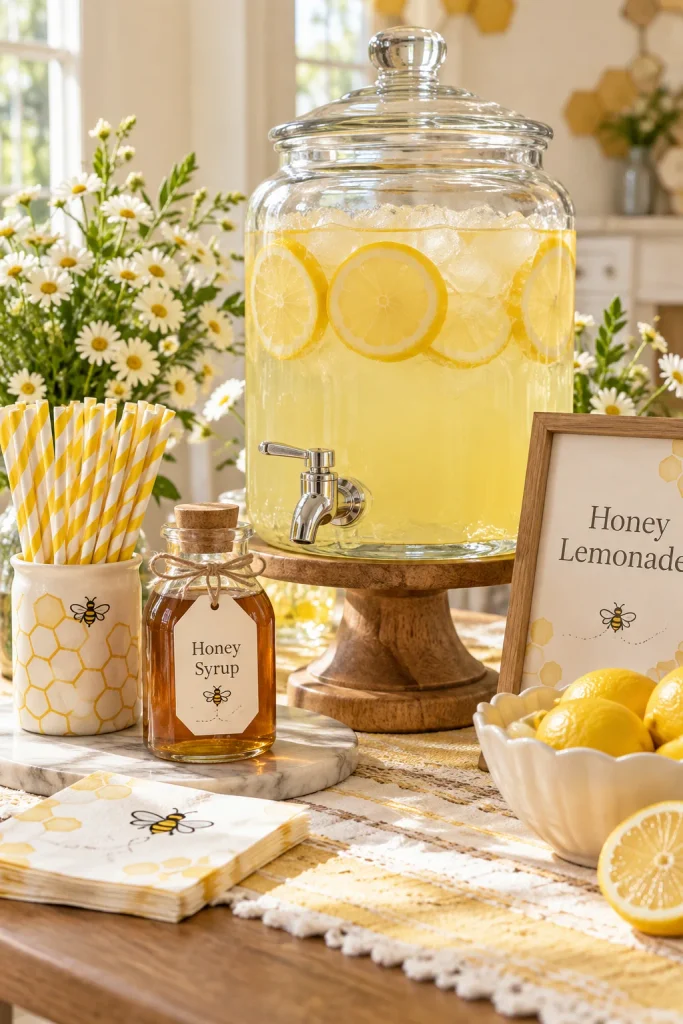
For all ages: Honey Mango Lemonade in a big glass dispenser with fresh fruit floating in it feels summery and on-theme. Make it the day before, chill overnight, add ice and fresh fruit right before guests arrive. Serve in clear glasses to show off those sunny hues.

For all ages (variation): Tropical Party Punch with pineapple, orange, and a touch of honey. Float edible flowers in ice cubes for visual drama.

For adults: A champagne bar where guests add their own fruit or honey syrup to champagne. Offer floating blackberries, raspberries, or a drizzle of honey at the bottom of glasses. This feels special and photographable.

Drink setup: Set up a beverage station with both options. Guests self-serve, which takes pressure off you. Keep ice nearby and label each drink with a small card (“Honey Mango Lemonade” / “Tropical Punch” / “Champagne Bar”).

Pro tip: Serve drinks in clear glassware. The honey tones and fruit show through beautifully and photograph like a dream.

The Menu Timing Strategy

Guests arrive → Savory appetizers and drinks circulate for 45–60 minutes → Transition to games and activities → Cake reveal and celebration → Desserts and lingering. This flow keeps energy moving without rushing anyone.

Make-Ahead Menu Breakdown:

  • 3–5 days ahead: Cookies, pastry puffs (if freezing), stocks for any soups
  • 2 days ahead: Cake baked and crumb-coated (not frosted), charcuterie board elements chopped and separated
  • 1 day ahead: Cake frosted and decorated, chicken skewers assembled, sliders prepped and chilled
  • Morning of: Final plating, drinks mixed, ice in coolers, garnishes added
  • 30 minutes before guests: Final food temperature checks, drinks poured or set up, napkins and utensils arranged
Honey lemonade and citrus drinks served at a bee-themed gender reveal celebration

Games and Activities That Keep the Buzz Going

The best parties aren’t just beautifully styled; they’re alive with connection. Your “What Will It Bee?” gathering should feel joyful, playful, and just the right amount of competitive.

Interactive Guessing Games

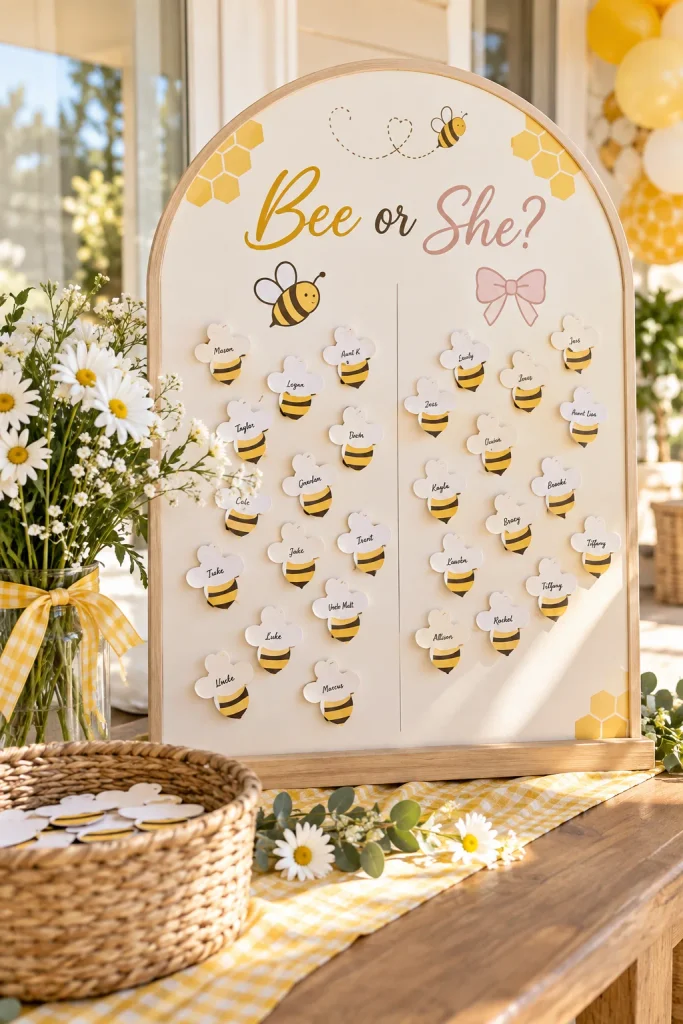
Old Wives’ Tales Board: A charming nostalgic favorite. Print a board with classic myths (“Carrying high = girl”; “Craving sweets = girl”; “Morning sickness = girl”; etc.). Guests predict boy or girl based on mom’s pregnancy symptoms. It’s lighthearted, sparks conversation, and takes 2 minutes to set up. Winner gets a small prize (honey-themed favor).

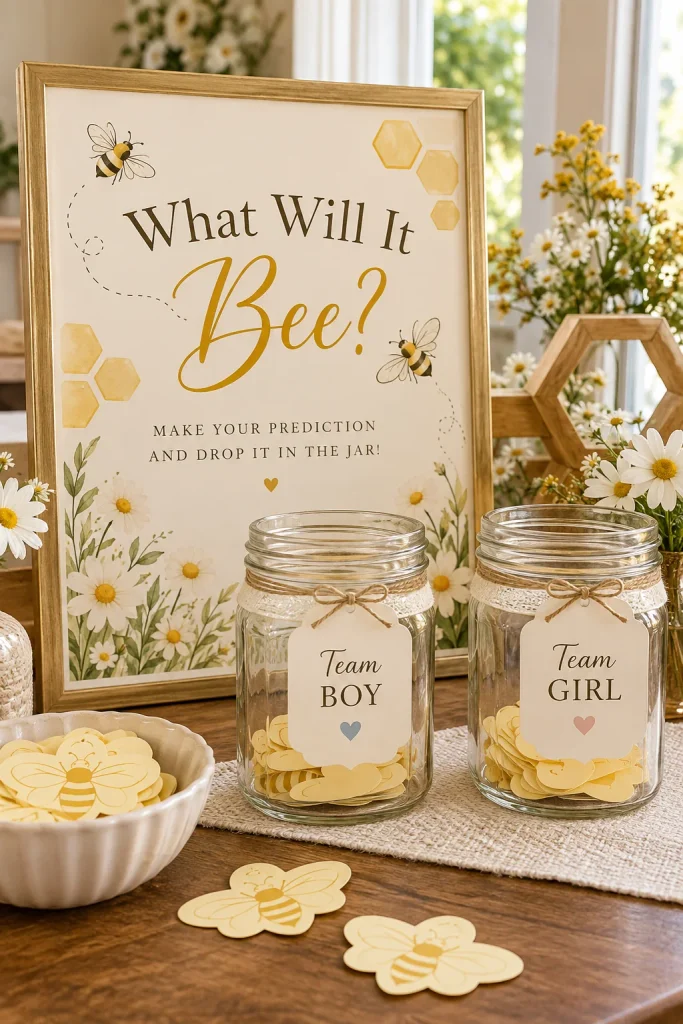
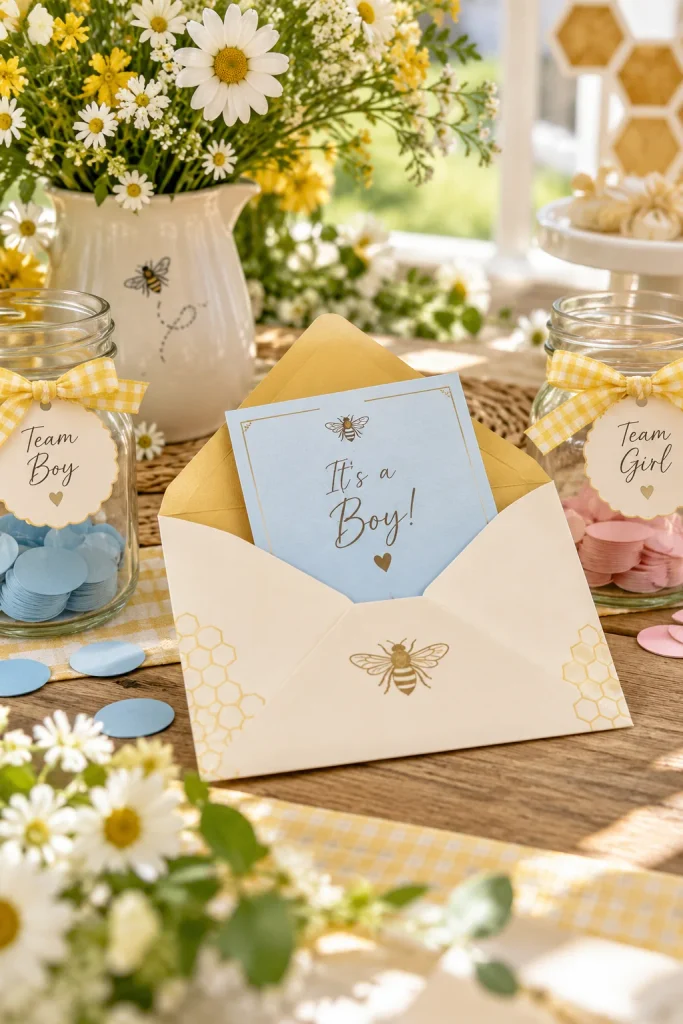
Gender Vote Station: Set up two urns or boxes labeled “Team Girl” and “Team Boy.” Guests place a pin, sticker, or vote card in their choice. Tabulate results before the big reveal. The anticipation builds when you announce the prediction vote vs. the actual gender — guests cheer for “their team.”

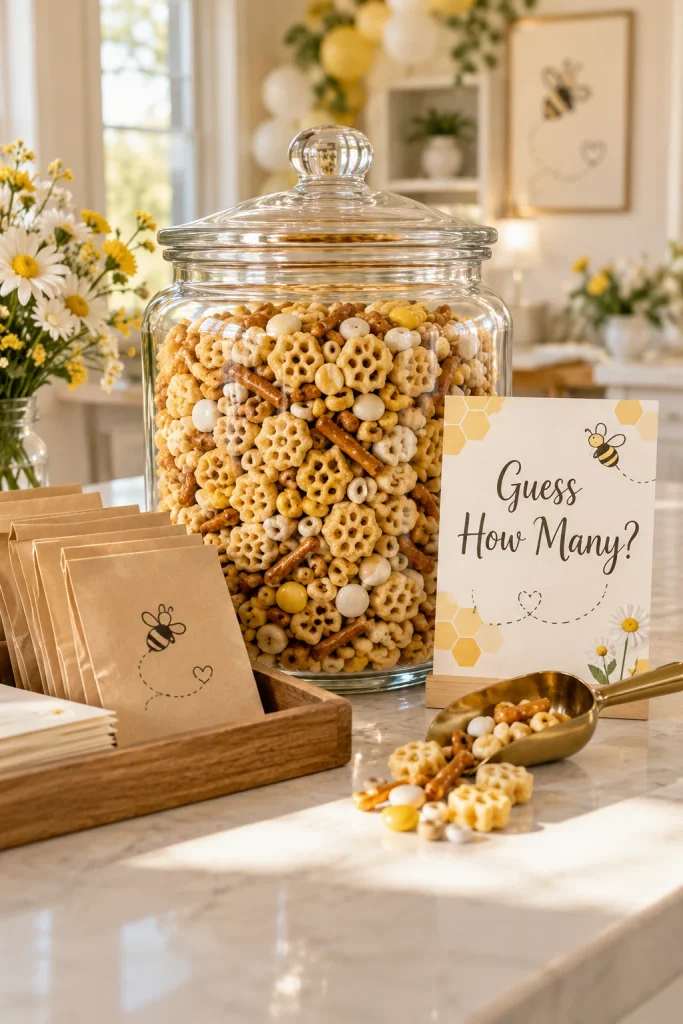
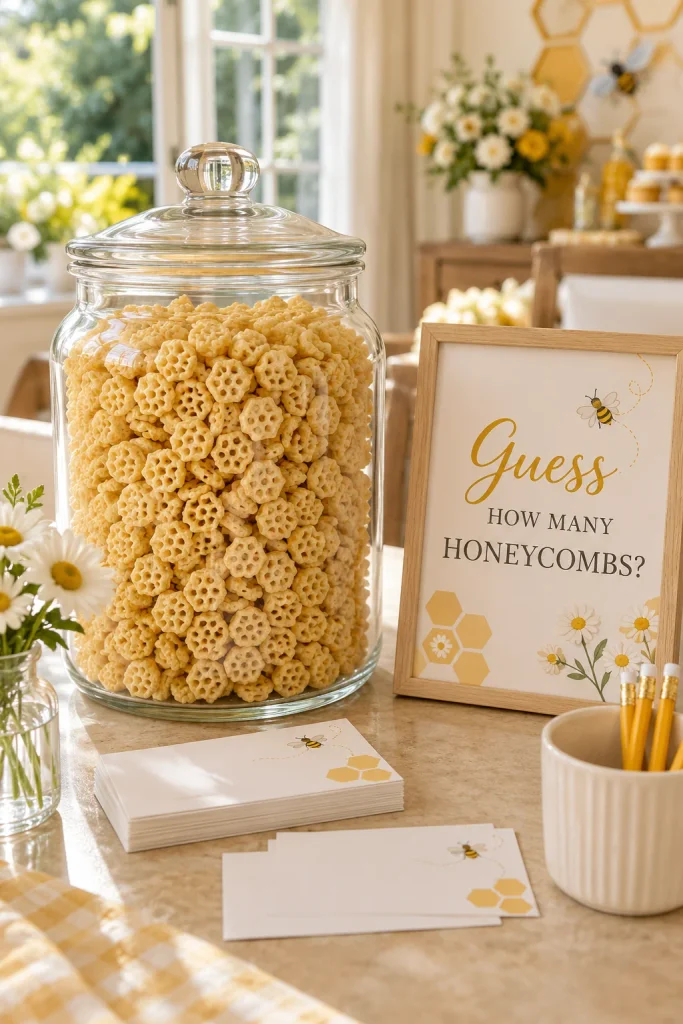
Honey Jar Count: Fill a clear jar with honey candies, honeycomb pieces, or small candy favors in honey colors. Guests guess the count. Closest guess wins a small prize. It’s visual, simple, and takes a minute per person.

Hands-On Activities

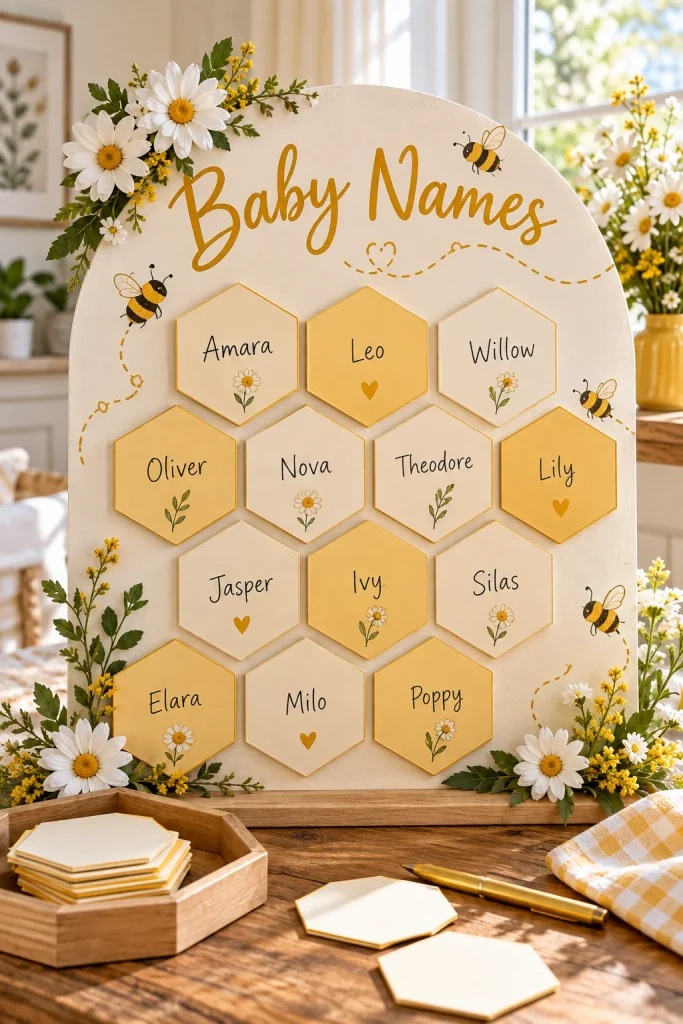
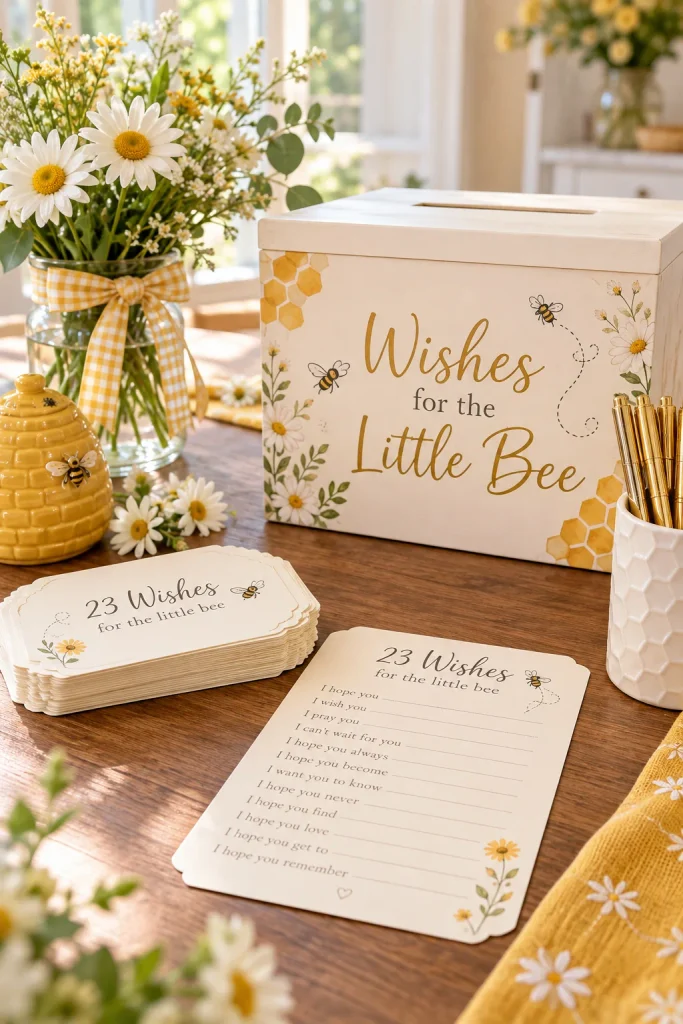
Name the Baby Bee Card Station: Set up a small table with blank cards and pens. Guests write name suggestions for the baby with one-liners. The suggestions will range from endearing to outrageous — and you’ll cherish every one. Read a few aloud before the reveal for laughs. (Fair warning: if you don’t love all suggestions, just smile and save the ones that resonate.)

Photo Booth Corner: Set up a low-key photo station with props: oversized sunflowers, a “Team Girl” / “Team Boy” sign, a fake mustache on a stick, a bee antenna headband. Background can be your statement “What Will It Bee?” sign or a simple backdrop. Guests snap photos themselves or with a friend’s phone. Casual and fun.

“Don’t Say Baby” Game: Tell guests at the beginning of the party: “Try not to say the word ‘baby’ or ‘bee’ today.” Anyone who slips up has to donate $1 to a charity of your choice or a parenting fund. It’s silly, builds awareness throughout the party, and creates moments of laughter when someone inevitably slips up.

Timing and Flow

First 30 minutes (arrival): Welcome, drinks, light appetizers. No structured activities yet — let people settle and mingle.

30–60 minutes: Announce the guessing games. Explain how the Old Wives’ Tales board works and where the gender vote station is. Let people participate at their own pace.

60–90 minutes: Activity peak. Run the “don’t say baby” game. Open the Name the Baby Bee station. Encourage photos at the booth.

90–120 minutes: Announce the big reveal moment. Gather everyone together.

120 minutes onward: Cake reveal. Celebration. Desserts and lingering. Let momentum naturally wind down.

Pro tip: A beautifully designed printable game bundle has everything coordinated and ready to display — perfectly formatted, instantly photogenic, and saves you hours of design time.

Team Boy and Team Girl voting sign for a What Will It Bee gender reveal game

The Big Reveal: How to Do It Bee-utifully

This is the moment everything builds toward — the hush before the cheer, the sparkle before the surprise. The gender reveal is the heart of your celebration, and it deserves to feel unforgettable.

Reveal Method 1: Confetti Pop Balloon

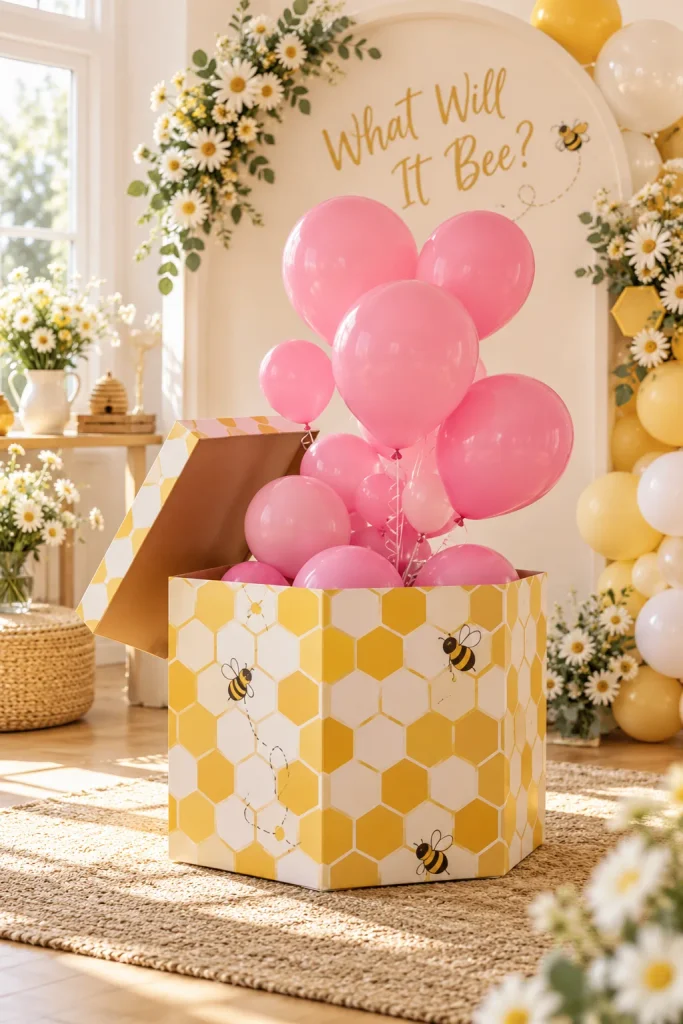
The setup: Inflate a large black, gold, or clear balloon filled with pink or blue confetti. Have someone hold it or attach it to a stand. At the big moment, the mom-to-be (or both parents) pops it with a push, a punch, or confetti cannons hidden nearby. Confetti explodes everywhere. Guests cheer.

Why it works: Explosive, joyful, simple. Perfect for video capture (slow-motion confetti looks stunning). Works indoors or outdoors.

Pro tips: Confetti can be made of tissue, colored paper, or custom-printed pieces saying “It’s a Boy!” or “It’s a Girl!” Have someone designated to film for slow-motion playback. Clean up is less fun, but it’s worth it for the moment.

Safety note: Make sure the person popping feels physically comfortable doing so — especially pregnant people who might not want to bear force or impact.

Reveal Method 2: Gender Reveal Cake

The setup: A beautiful cake with a golden or cream exterior and a pink or blue interior (or swirled). At the big moment, you slice into it in front of everyone. The color inside is revealed. It’s elegant, delicious, and emotional.

Why it works: Refined. Gives everyone a slice afterward (double win). Photographs beautifully. No cleanup beyond normal cake service.

Pro tips: Have a sharp knife ready and a cake server. Slice slowly so the color is visible. Have someone ready to photograph the moment the cake is cut open — that’s the money shot. Consider a small “practice slice” in the back to confirm the color shows clearly before doing the main reveal.

Flavor ideas: Raspberry filling (pink), blueberry filling (blue), or a swirled combination. Keep the exterior neutral (honey gold, cream, or black) so the inside is the surprise.

Reveal Method 3: Piñata

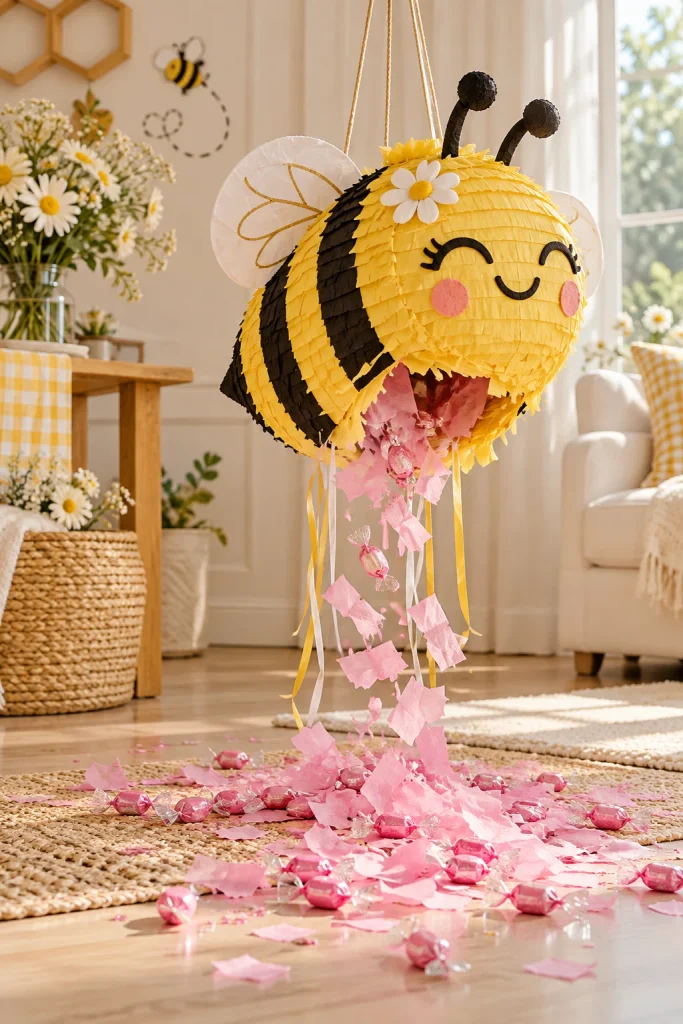
The setup: A large bee-shaped or honeycomb-shaped piñata filled with pink or blue candy and confetti. Someone (or the mom-to-be, if she’s comfortable) hits it until it breaks, revealing the color inside.

Why it works: Playful, interactive, nostalgic. Great for younger guests. Creates a fun moment of anticipation as someone swings.

Pro tips: Make sure you have enough ceiling height or open space for someone to swing. Secure the piñata well so it doesn’t bonk anyone. Have a broom nearby for cleanup. This works best with a smaller guest list (tighter group energy). Not ideal in high winds or very hot weather (heat can warp the piñata).

Safety note: Pregnant people usually shouldn’t hit the piñata (balance, impact). Consider having someone else do the honors or choose a different reveal method.

Reveal Method 4: Smoke Bombs or Color Dust

The setup: Pink or blue smoke bombs create an ethereal, cinematic cloud. These are trendy and look dramatic in photos. Light them, let the smoke drift, and there’s your reveal.

Why it works: Visually stunning. Modern and photogenic. Works beautifully with professional photography.

Pro tips: Test them first (outdoors, away from guests). Coordinate with your photographer so they capture the smoke from the right angle. Have a neutral backdrop to make the colored smoke stand out. Wind can affect how the smoke flows, so choose a calm moment or indoor venue.

Safety note: Read all instructions carefully. Keep away from flammable materials. Have water nearby (just in case). Not recommended for very young children or guests with respiratory sensitivities.

Reveal Method 5: Hybrid (Pick Two)

Can’t choose? Combine methods. Some parents do a confetti pop during the main event, then reveal again with the cake slice. Others do a gender vote result announcement, then a cake reveal. Double reveals feel generous and give you two moments of celebration.

Staging the Reveal:

  • Gather guests: Call everyone together. Turn off music. Create anticipation. Some parents read a heartfelt moment before revealing. Some go straight into it.
  • Cue a favorite song: Play something meaningful or celebratory as the reveal happens. The audio-visual combo is more memorable.
  • Designate a videographer: Even if you’re not a “video person,” having one phone focused on capturing the moment means you can be present and emotional rather than behind a lens.
  • Have a tissue box nearby: Tears happen. This moment is big.
  • Plan what’s next: Right after the reveal, transition to celebrations (confetti throwing, hugs, applause), then move people toward food or activities to reset energy.
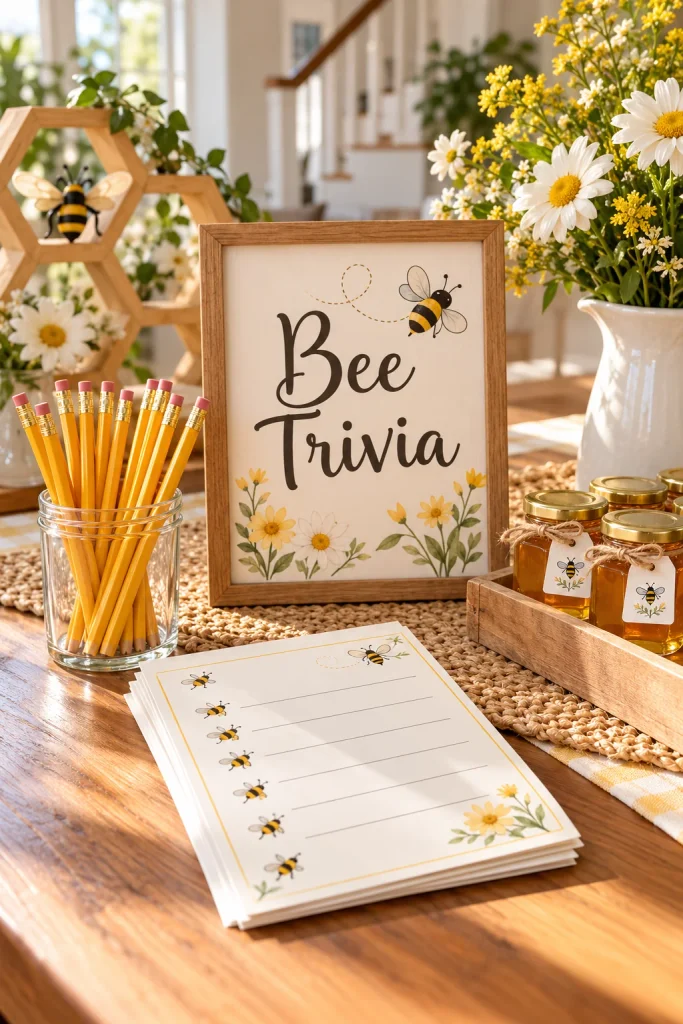
Bee-themed gender reveal game cards and party activities displayed on a decorated table

Party Favors: Memorable Gifts That Feel Personal

The final touch of any beautiful celebration is the parting gift. It carries the weight of the entire experience — a way of saying, “Thank you for being part of our story.”

The best bee-themed favors are thoughtful, on-theme, and just as charming as the day itself. Think natural, luxe, and a little golden.

Practical Favorites

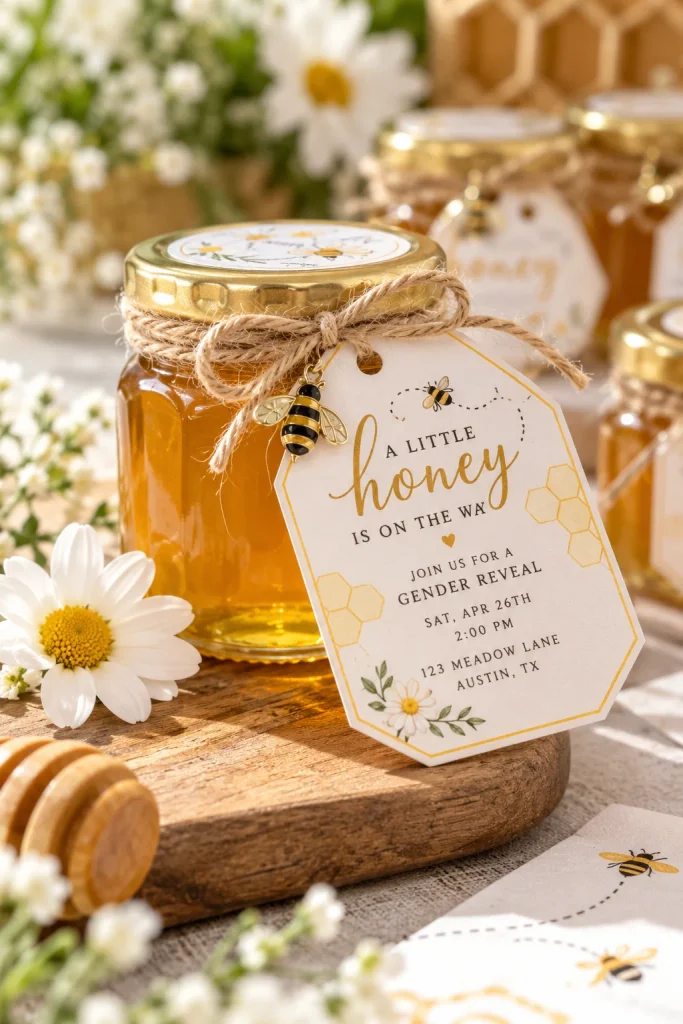
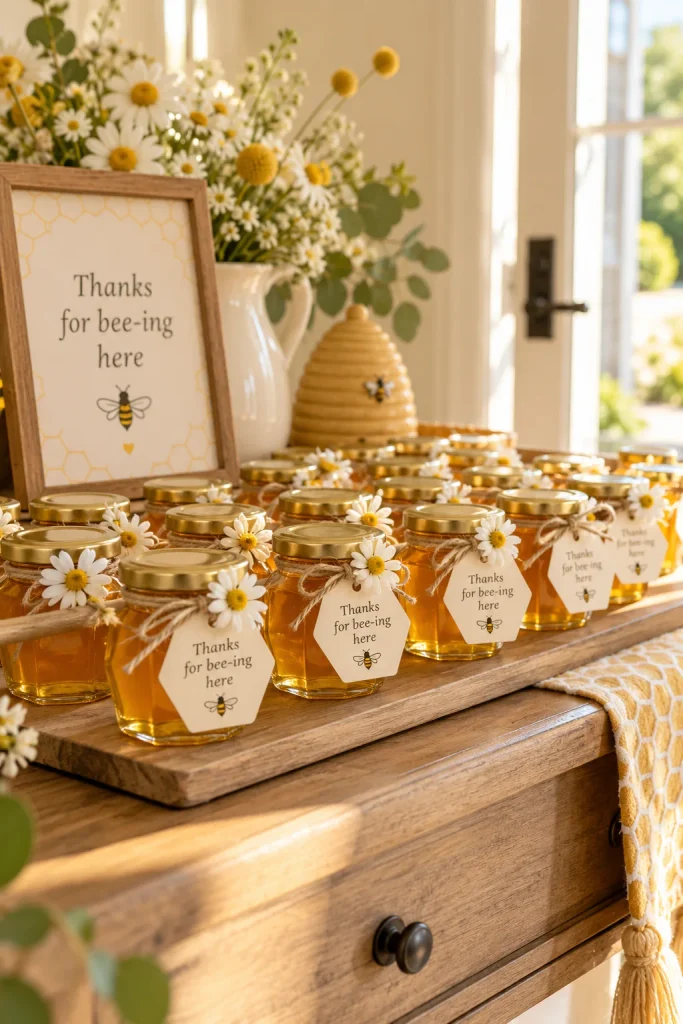
Mini Honey Jars: Small glass jars of local honey, tied with twine and a custom tag that reads “Thanks for Buzzing By!” Include a note about the honey’s origin. This is edible, beautiful, and actually useful. Guests leave feeling like they received a gift, not a trinket.

Beeswax Candles: Small hand-poured candles in honey or vanilla scents, labeled with bee or honeycomb designs. These feel luxe and tie directly into the theme. Guests love a quality candle.

Bee-Shaped Soaps: Handmade bee-shaped soaps that smell as lovely as they look. These work for any bathroom and guests actually use them.

Bee Keychains: Small bee-themed keychains are a keepsake guests will actually use. Tie them to favor bags with twine for a finished look.

Packaging and Presentation

Wrap favors in soft yellow tissue paper or place them inside linen drawstring bags in cream or natural cotton. Add a personalized note card thanking guests by name if you’re up for it, or a general thank-you note that feels heartfelt.

Table presentation: Place a favor at each guest’s seat or set up a favor table at the exit. If at their seat, they feel special and cared for. If at the exit, it’s a graceful goodbye.

Budget-friendly option: Honey jar + custom label + twine costs about $3–5 per favor and looks thoughtful and expensive. Splurge option: Pair multiple items (honey jar + beeswax candle + handmade card) in a small gift box for $10–15 per person.

Remember: The best favors are ones guests actually keep or use. Avoid novelty items that end up in a junk drawer. Honey, candles, soaps, and keychains all have staying power.

What Will Our Little Honey Bee balloon decoration for a bee-themed gender reveal party

More Bee-Themed and Gender Reveal Inspiration

Once your golden reveal has left everyone glowing, it’s only natural to start dreaming of what comes next. Whether you’re planning a baby shower, looking for coordinating décor ideas, or exploring other themed celebration ideas, these resources will inspire your next gathering.

Related Gender Reveal Ideas:

Related Baby Celebration Ideas:

Butterfly-Themed Baby Shower — Delicate and whimsical garden theme

How to Throw a Duck-Themed Baby Shower — Another nature-inspired theme with similar warmth

You Are My Sunshine Baby Shower Ideas — Golden, cheerful, and celebration-ready

FAQ: Bee-Themed Gender Reveal Questions Answered

What do you wear to a bee gender reveal party?

Stick with the color palette: blacks, golds, creams, and soft pastels (blush, sage green, pale yellow). Guests can wear bee-themed accessories (striped tops, gold jewelry) or dress in their guess of the baby’s gender (pink or blue). Keep it relaxed — this isn’t formal, but it’s intentional.

What is a “What Will It Bee?” party?

It’s a gender reveal celebration with a bee theme. Decorations, food, wording, and games all use bee-inspired puns (“What Will It Bee?” instead of “What Will It Be?”). The baby’s gender is revealed in a fun way — usually a confetti pop, cake, piñata, or other reveal method. It’s playful, elegant, and honey-themed.

When should I host my gender reveal?

Most people host at 18–20 weeks post-anatomy scan, giving time to plan and confirm the baby’s gender. This means 4–6 weeks from now if you’re just deciding. You need time to order custom items, send invitations, and prep without stress. Any earlier and you’re rushing; any later and you might lose the excitement momentum.

How early should I send invitations?

Aim for 4–6 weeks before the party, especially if you’re mailing physical cards. Digital invites can go out 3–4 weeks before. Include an RSVP deadline of 1 week before the party so you can finalize food quantities and seating.

Can I do a bee-themed virtual reveal?

Absolutely. Send bee-themed digital invites via email. Set up a Zoom or livestream call. Guests can join from home. You can livestream the cake cutting, confetti pop, or piñata break-through. Mail small party kits to guests (mini honey jars, bee stickers, a printed game card) so they feel included even remotely. Virtual reveals work beautifully when done with intention.

Can this theme work for twins?

Yes. Adjust your wording: “Double the Buzz! Two Little Bees Are On the Way.” You can reveal both genders in one reveal moment (double confetti if boy/girl twins, or split the gender vote) or do two separate reveal methods back-to-back. The golden aesthetic scales beautifully for a bigger celebration. You might need proportionally more food and decorations, but the theme absolutely works.

Can I combine a bee gender reveal with a baby shower?

Absolutely. A “Bee Baby Bash” that combines both events is practical and economical. You invite the same guests, do the gender reveal 30–45 minutes into the party, then transition into shower games, gift opening, and extended celebration. It’s helpful if you’re trying to keep social calendar bloat down or budget tight. Just be clear on invitations that it’s a combined event.

Is this theme budget-friendly?

Yes. The bee theme is incredibly forgiving for budget parties. Your biggest expenses are venue, food, and a few statement decorations (balloon garland, signage, cake). Dollar store honeycomb decorations, DIY floral arrangements with grocery store sunflowers, and affordable printed signage look expensive without breaking the bank. You can absolutely throw a stunning bee gender reveal for $300–500 for 30–40 guests.

What if the weather doesn’t cooperate?

Move indoors or to a covered space. The bee theme is surprisingly forgiving for indoor venues (community centers, restaurants, homes). Just adjust lighting (ensure good indoor lighting for photos), and consider the piñata and smoke bomb reveals less suitable indoors (go for confetti pop or cake instead). An indoor venue actually feels more intentional than “we had to move because of rain.”

How long does a bee-themed gender reveal party usually last?

Most bee-themed gender reveal parties last 2–3 hours. This allows plenty of time for mingling, games, food, the reveal itself, and dessert without guests feeling rushed.

Final Thoughts: Making It Memorable

A “What Will It Bee?” party is more than a moment — it’s a memory in the making. Every golden detail, from the first honeycomb balloon to the final sweet favor, weaves together a story of anticipation, love, and joy.

It’s a celebration that feels both effortless and deeply personal — a reminder that the best parties aren’t just beautifully styled, they’re heartfelt. The ones people remember aren’t the most expensive or Instagram-perfect. They’re the ones where the host clearly cared, where laughter felt genuine, where food tasted delicious and timed perfectly, where games sparked real connection, and where the reveal moment was handled with warmth rather than pressure.

Whether you’re hosting an intimate garden gathering or an all-out backyard affair, let your décor, food, and games reflect the warmth of the occasion. Keep it thoughtful. Keep it joyful. Let the laughter linger like sunlight through amber glass.

Because in the end, this isn’t just about revealing pink or blue — it’s about celebrating the beginning of a new chapter. A moment so full of hope and happiness that it hums, softly, like a bee in summer air.

Sweet, simple, and unforgettable — that’s the beauty of a bee-themed reveal done right.

Planning Checklist: Master Timeline (Printable)

Planning a bee-themed gender reveal? Download this free printable planning checklist to keep every detail organized from six weeks out through party day.

Download this checklist and print it. Check off tasks as you complete them. Refer to it weekly — you’ll never feel behind.

What Will It Bee gender reveal ideas with bee decorations, games, food, and party inspiration

Similar Posts